
PMN WEDDING DESIGN || BELLISSIMA BRIDE MAGAZINE

Bellissima Bride Magazine issue 23


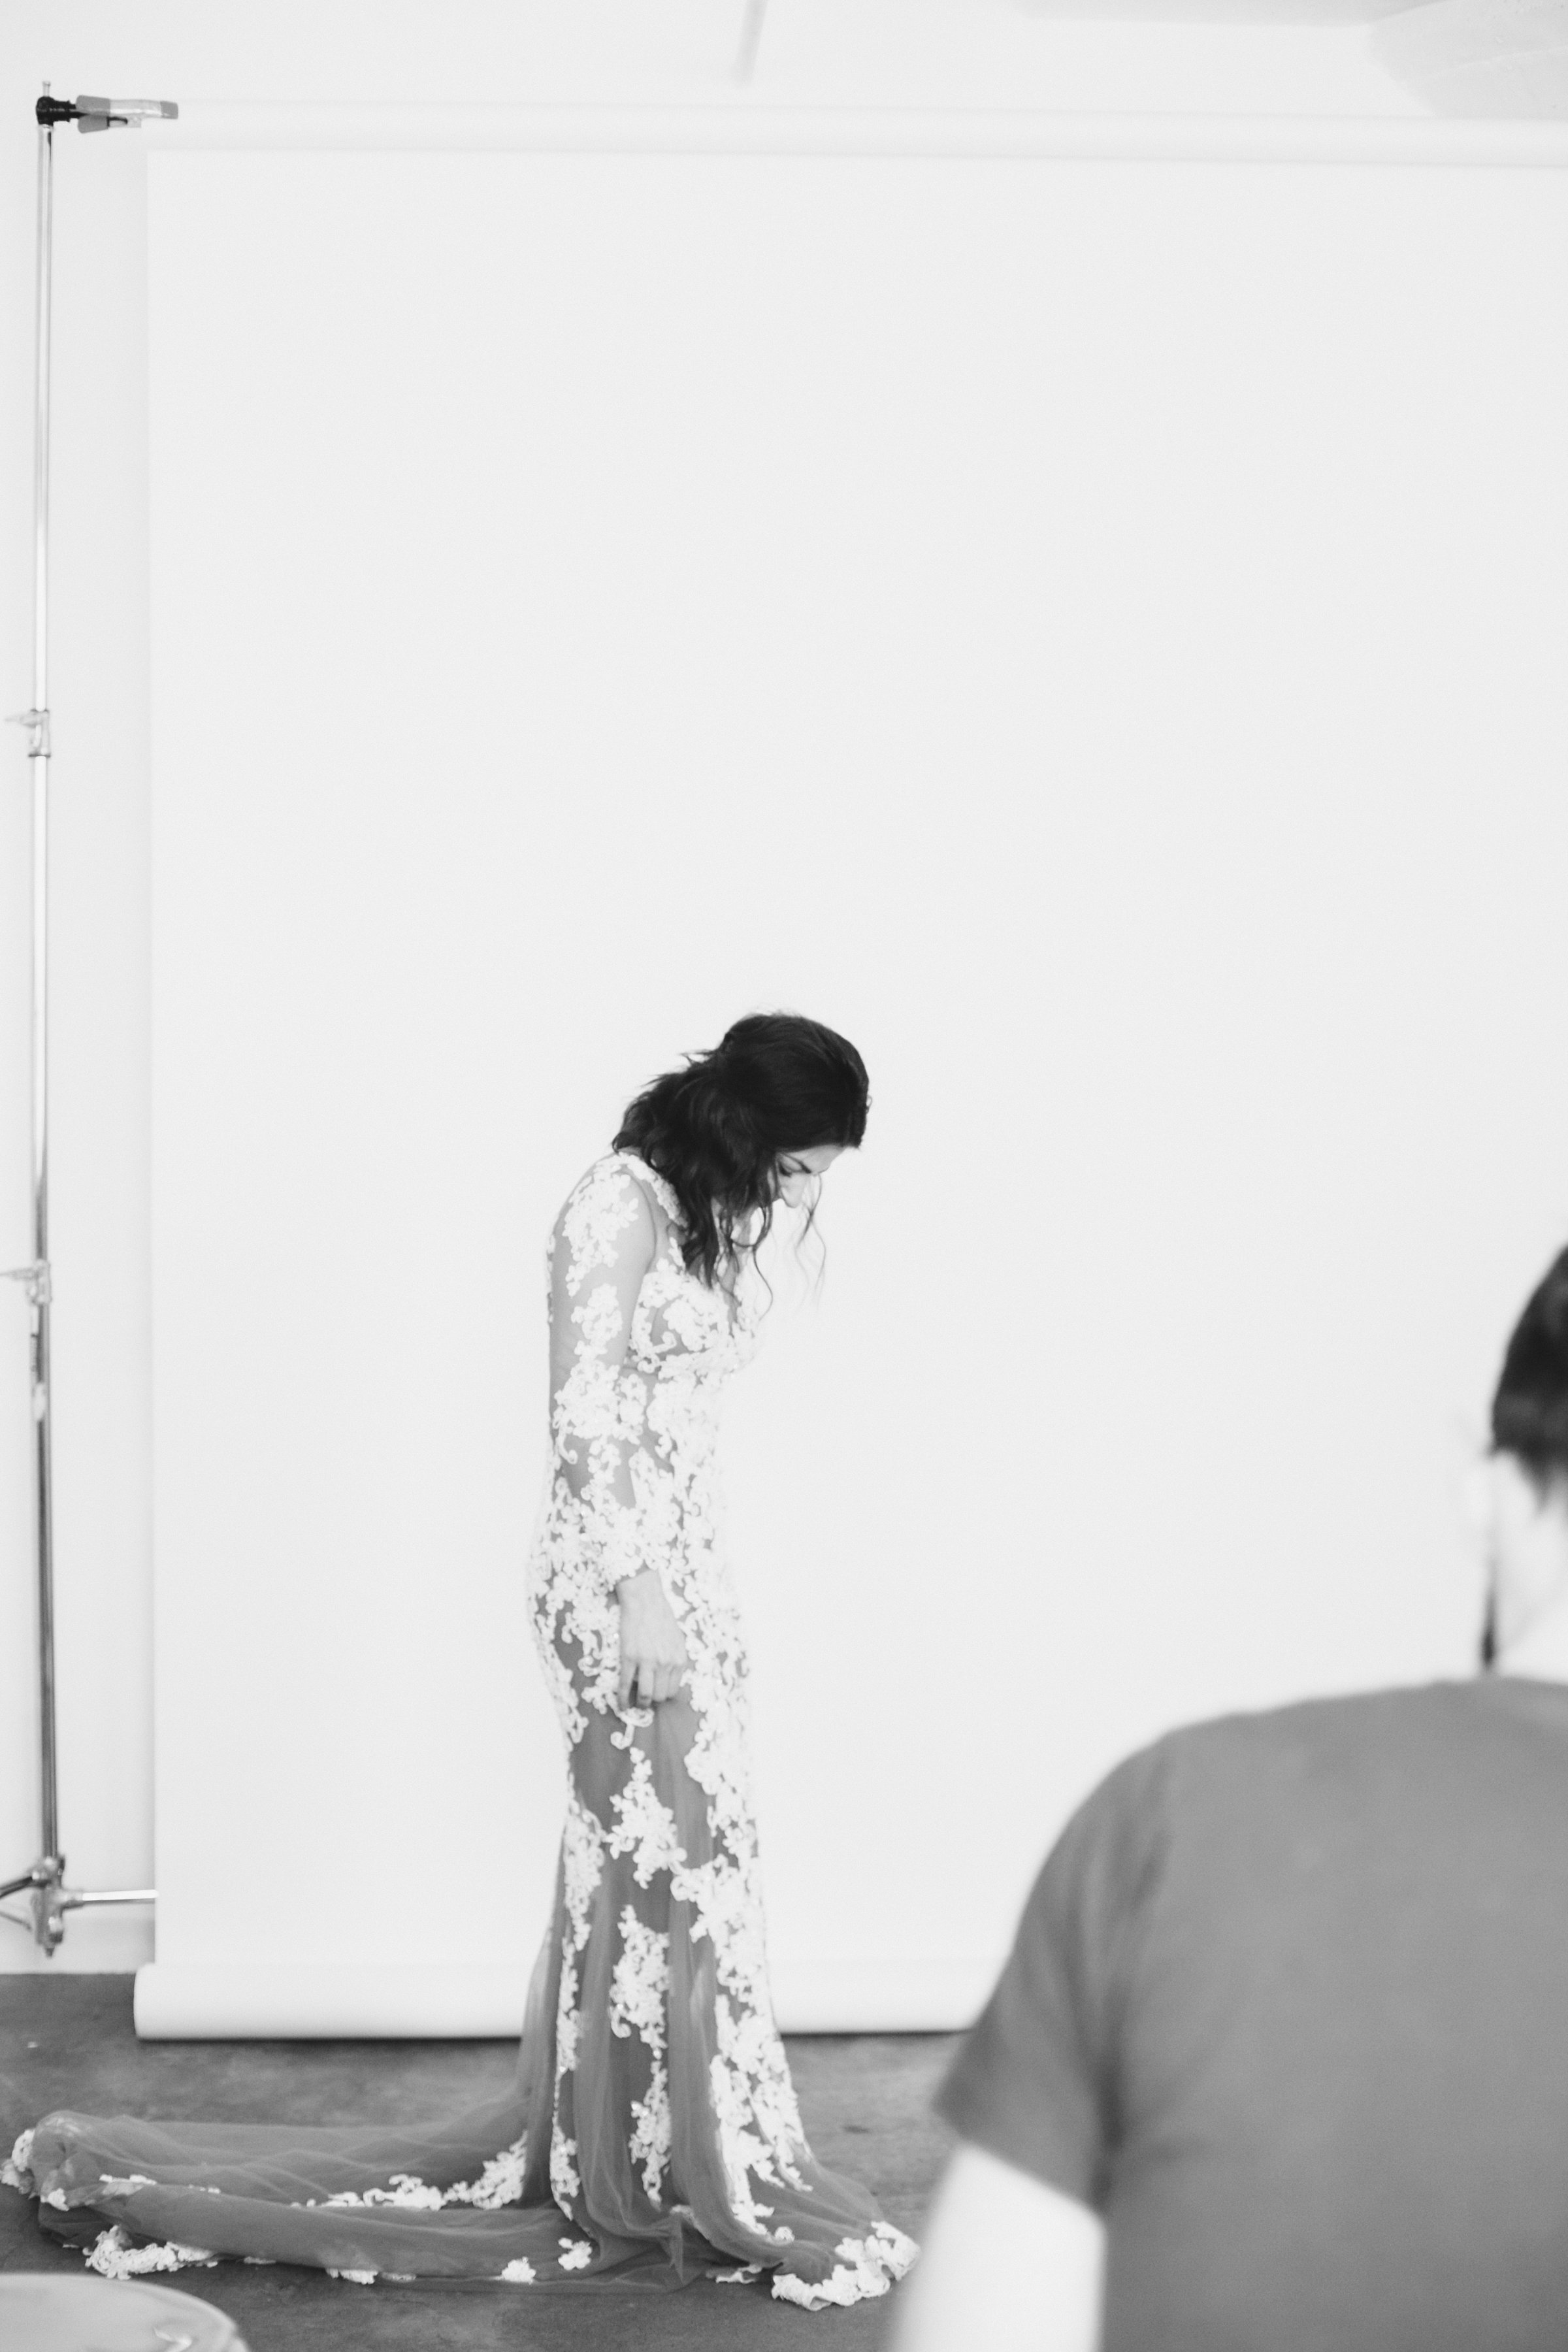
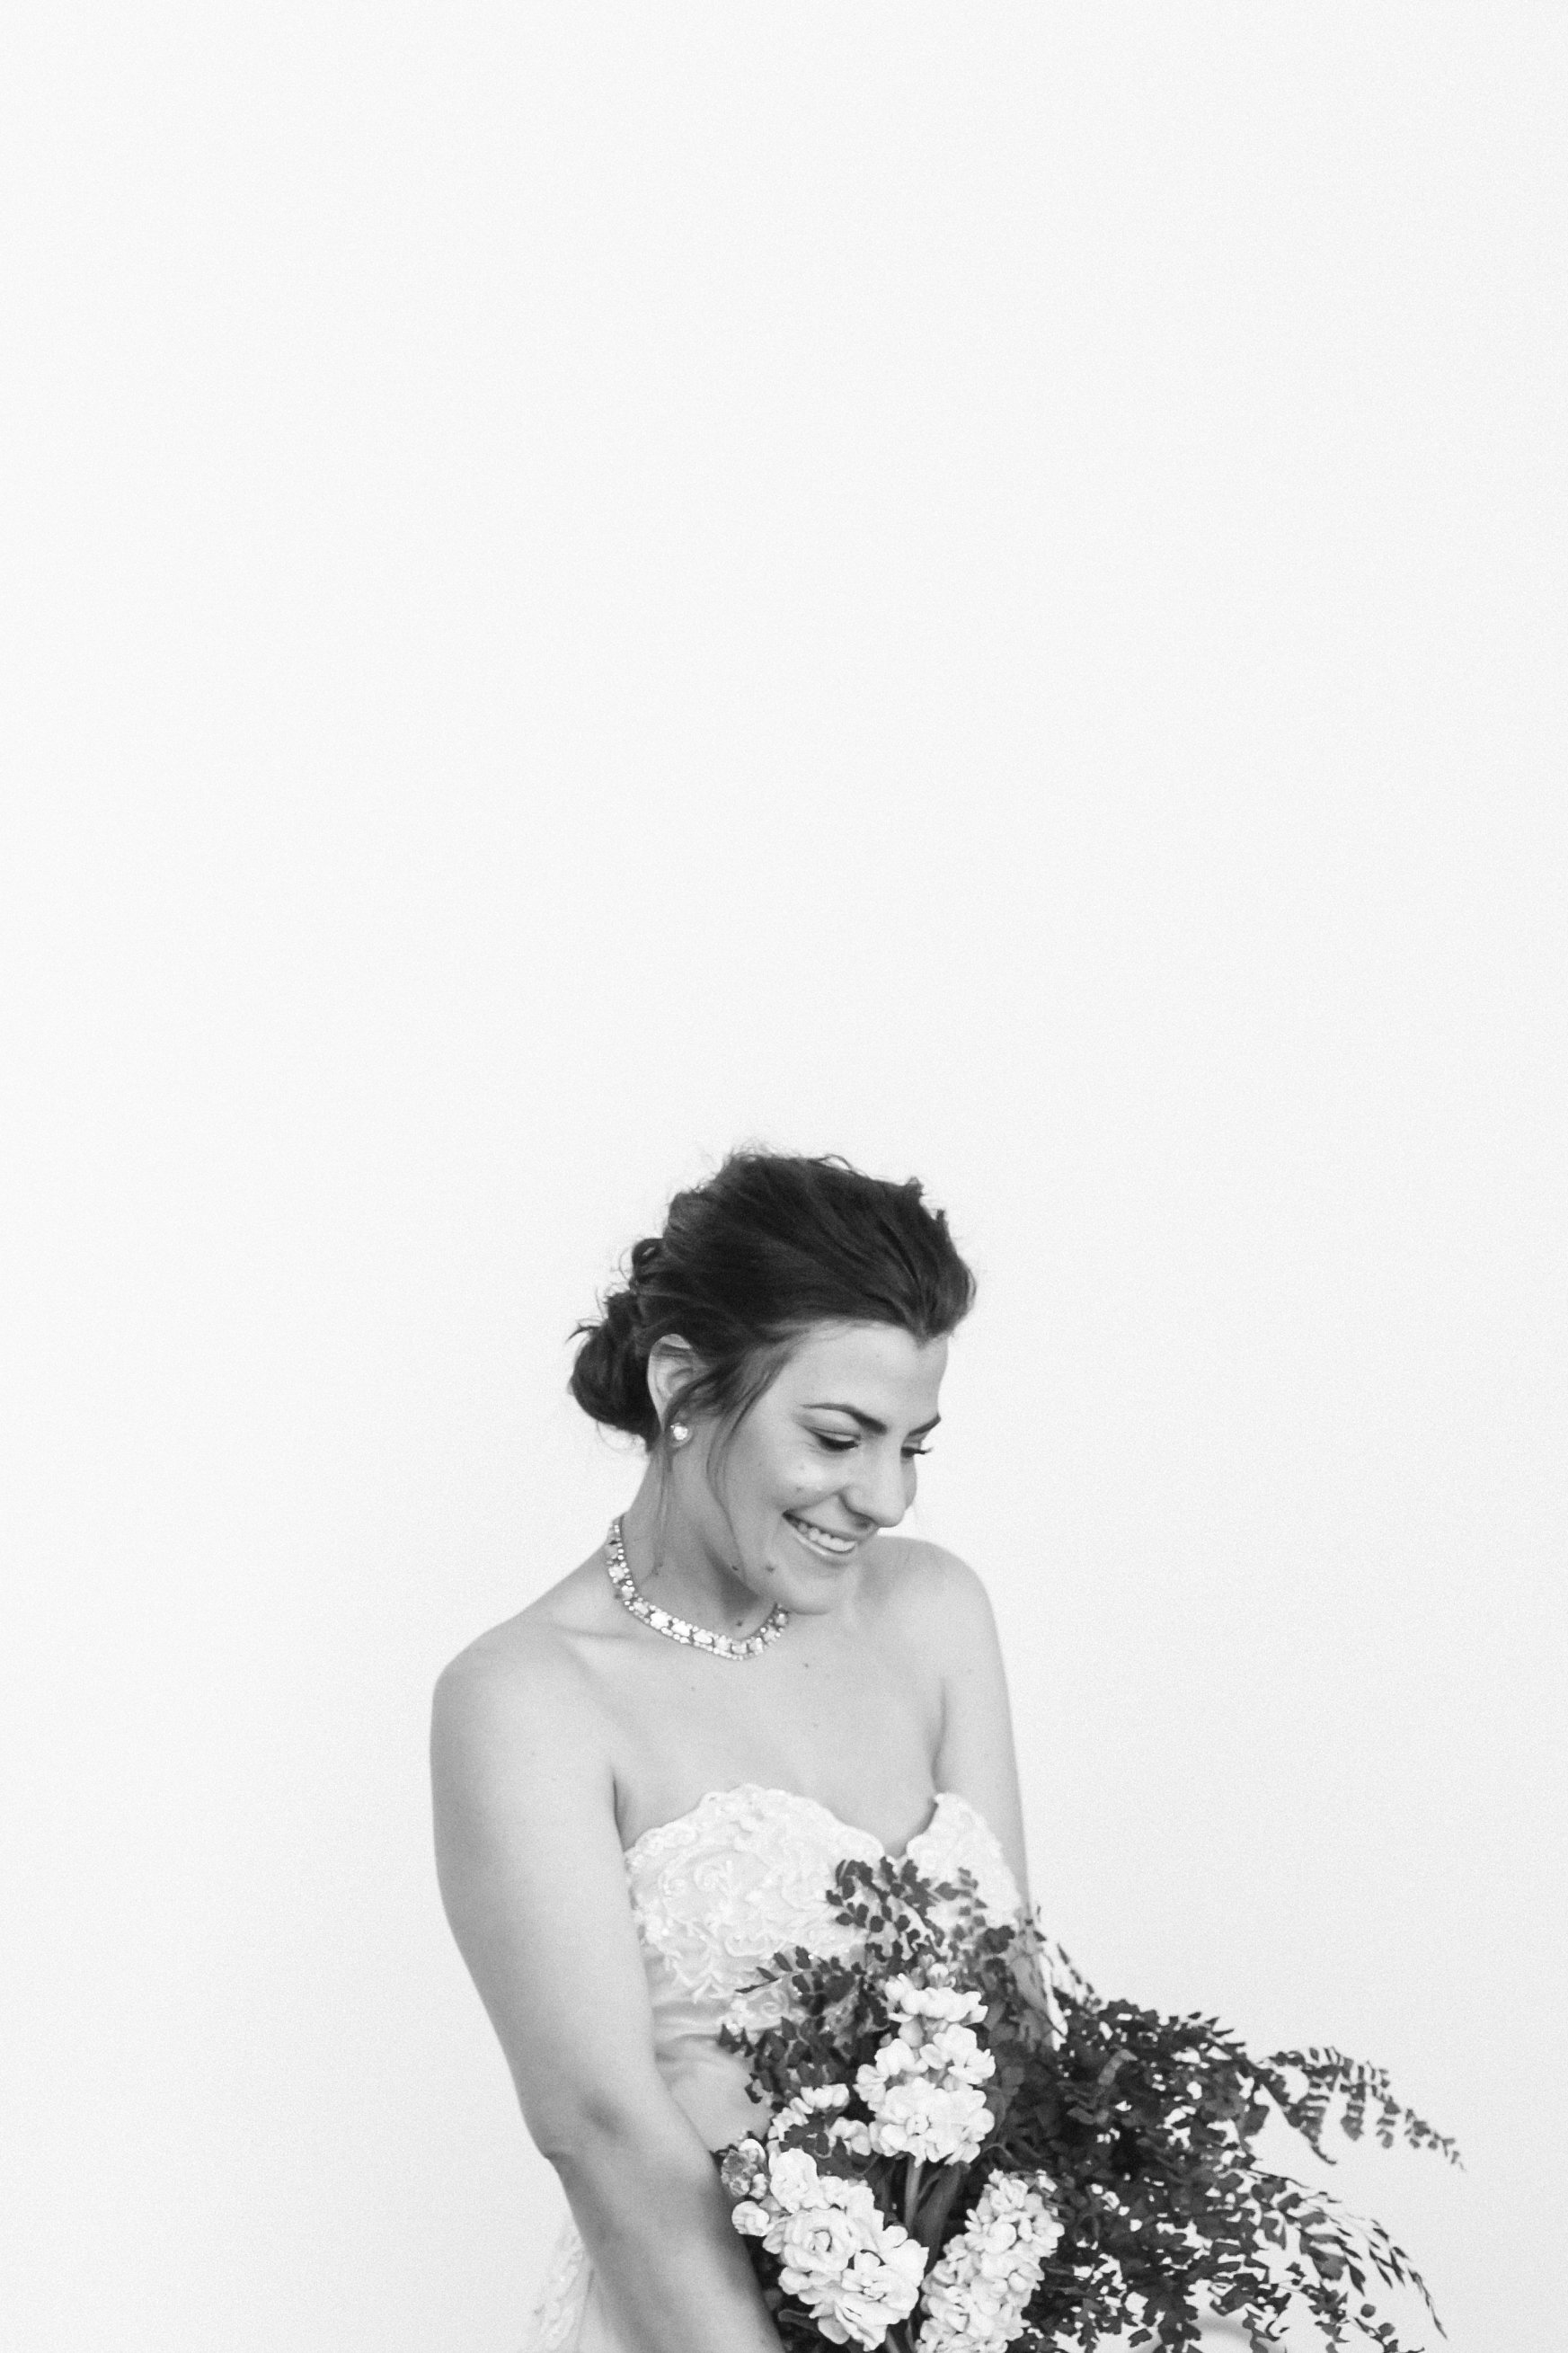
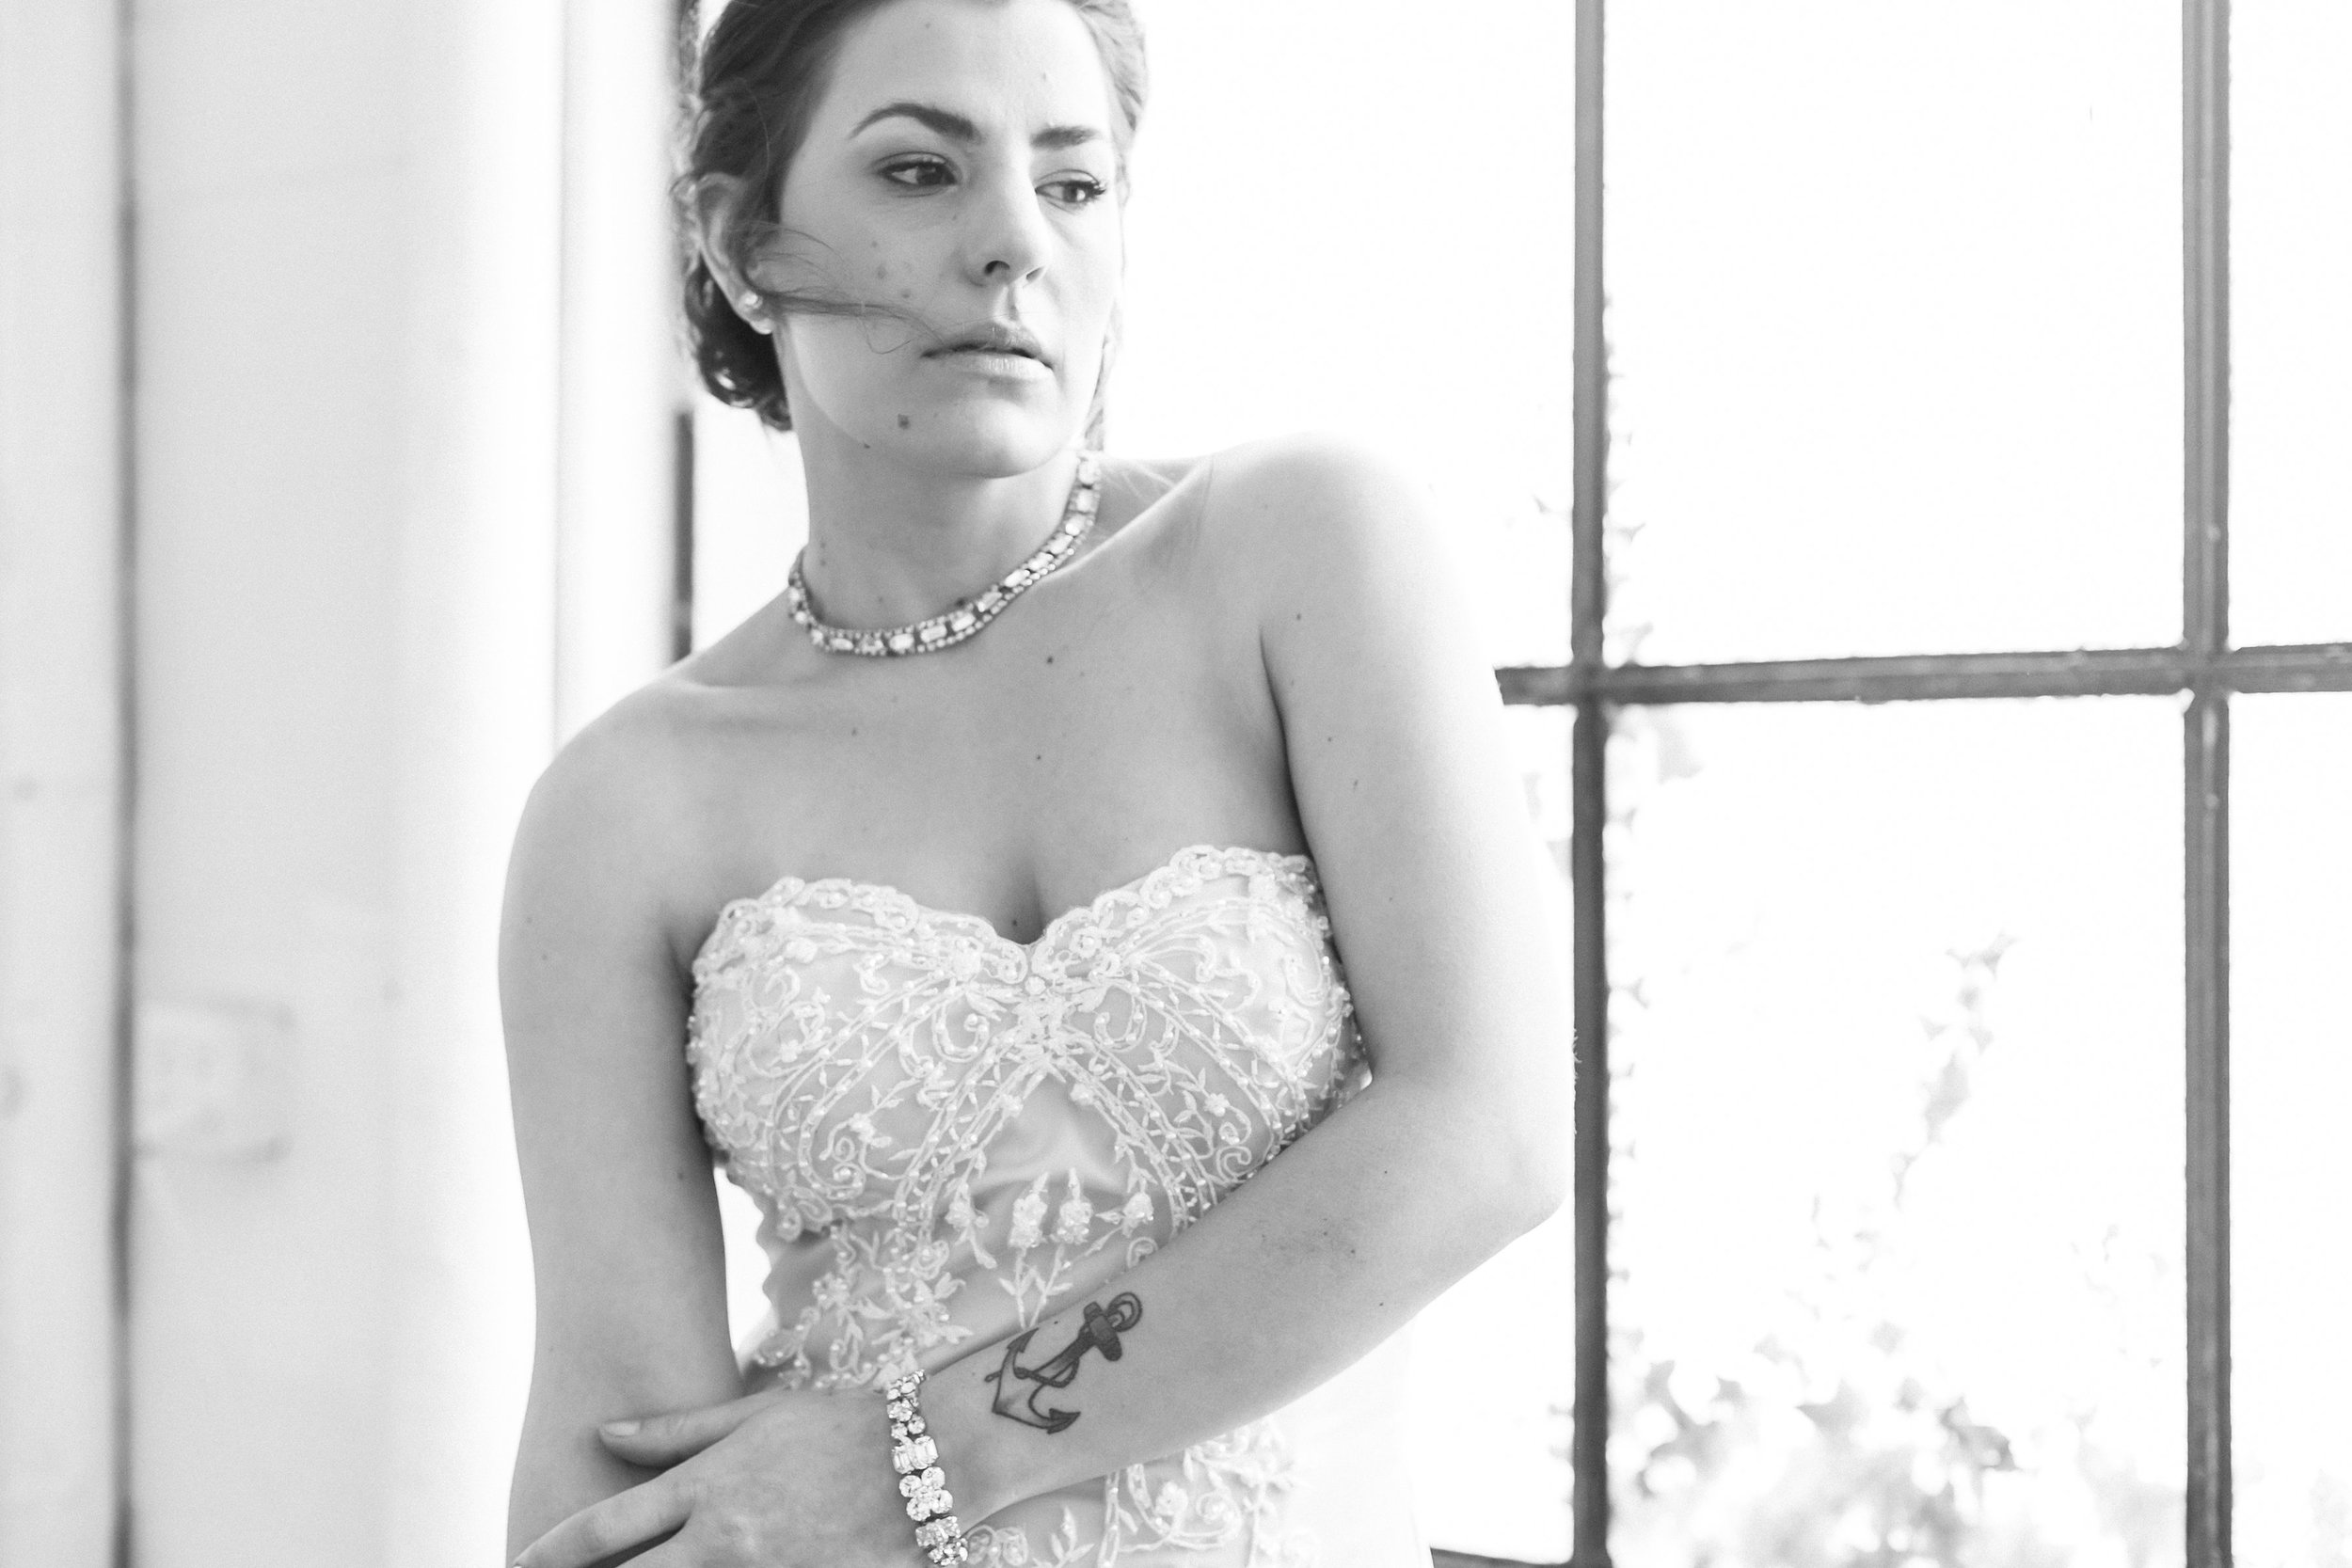
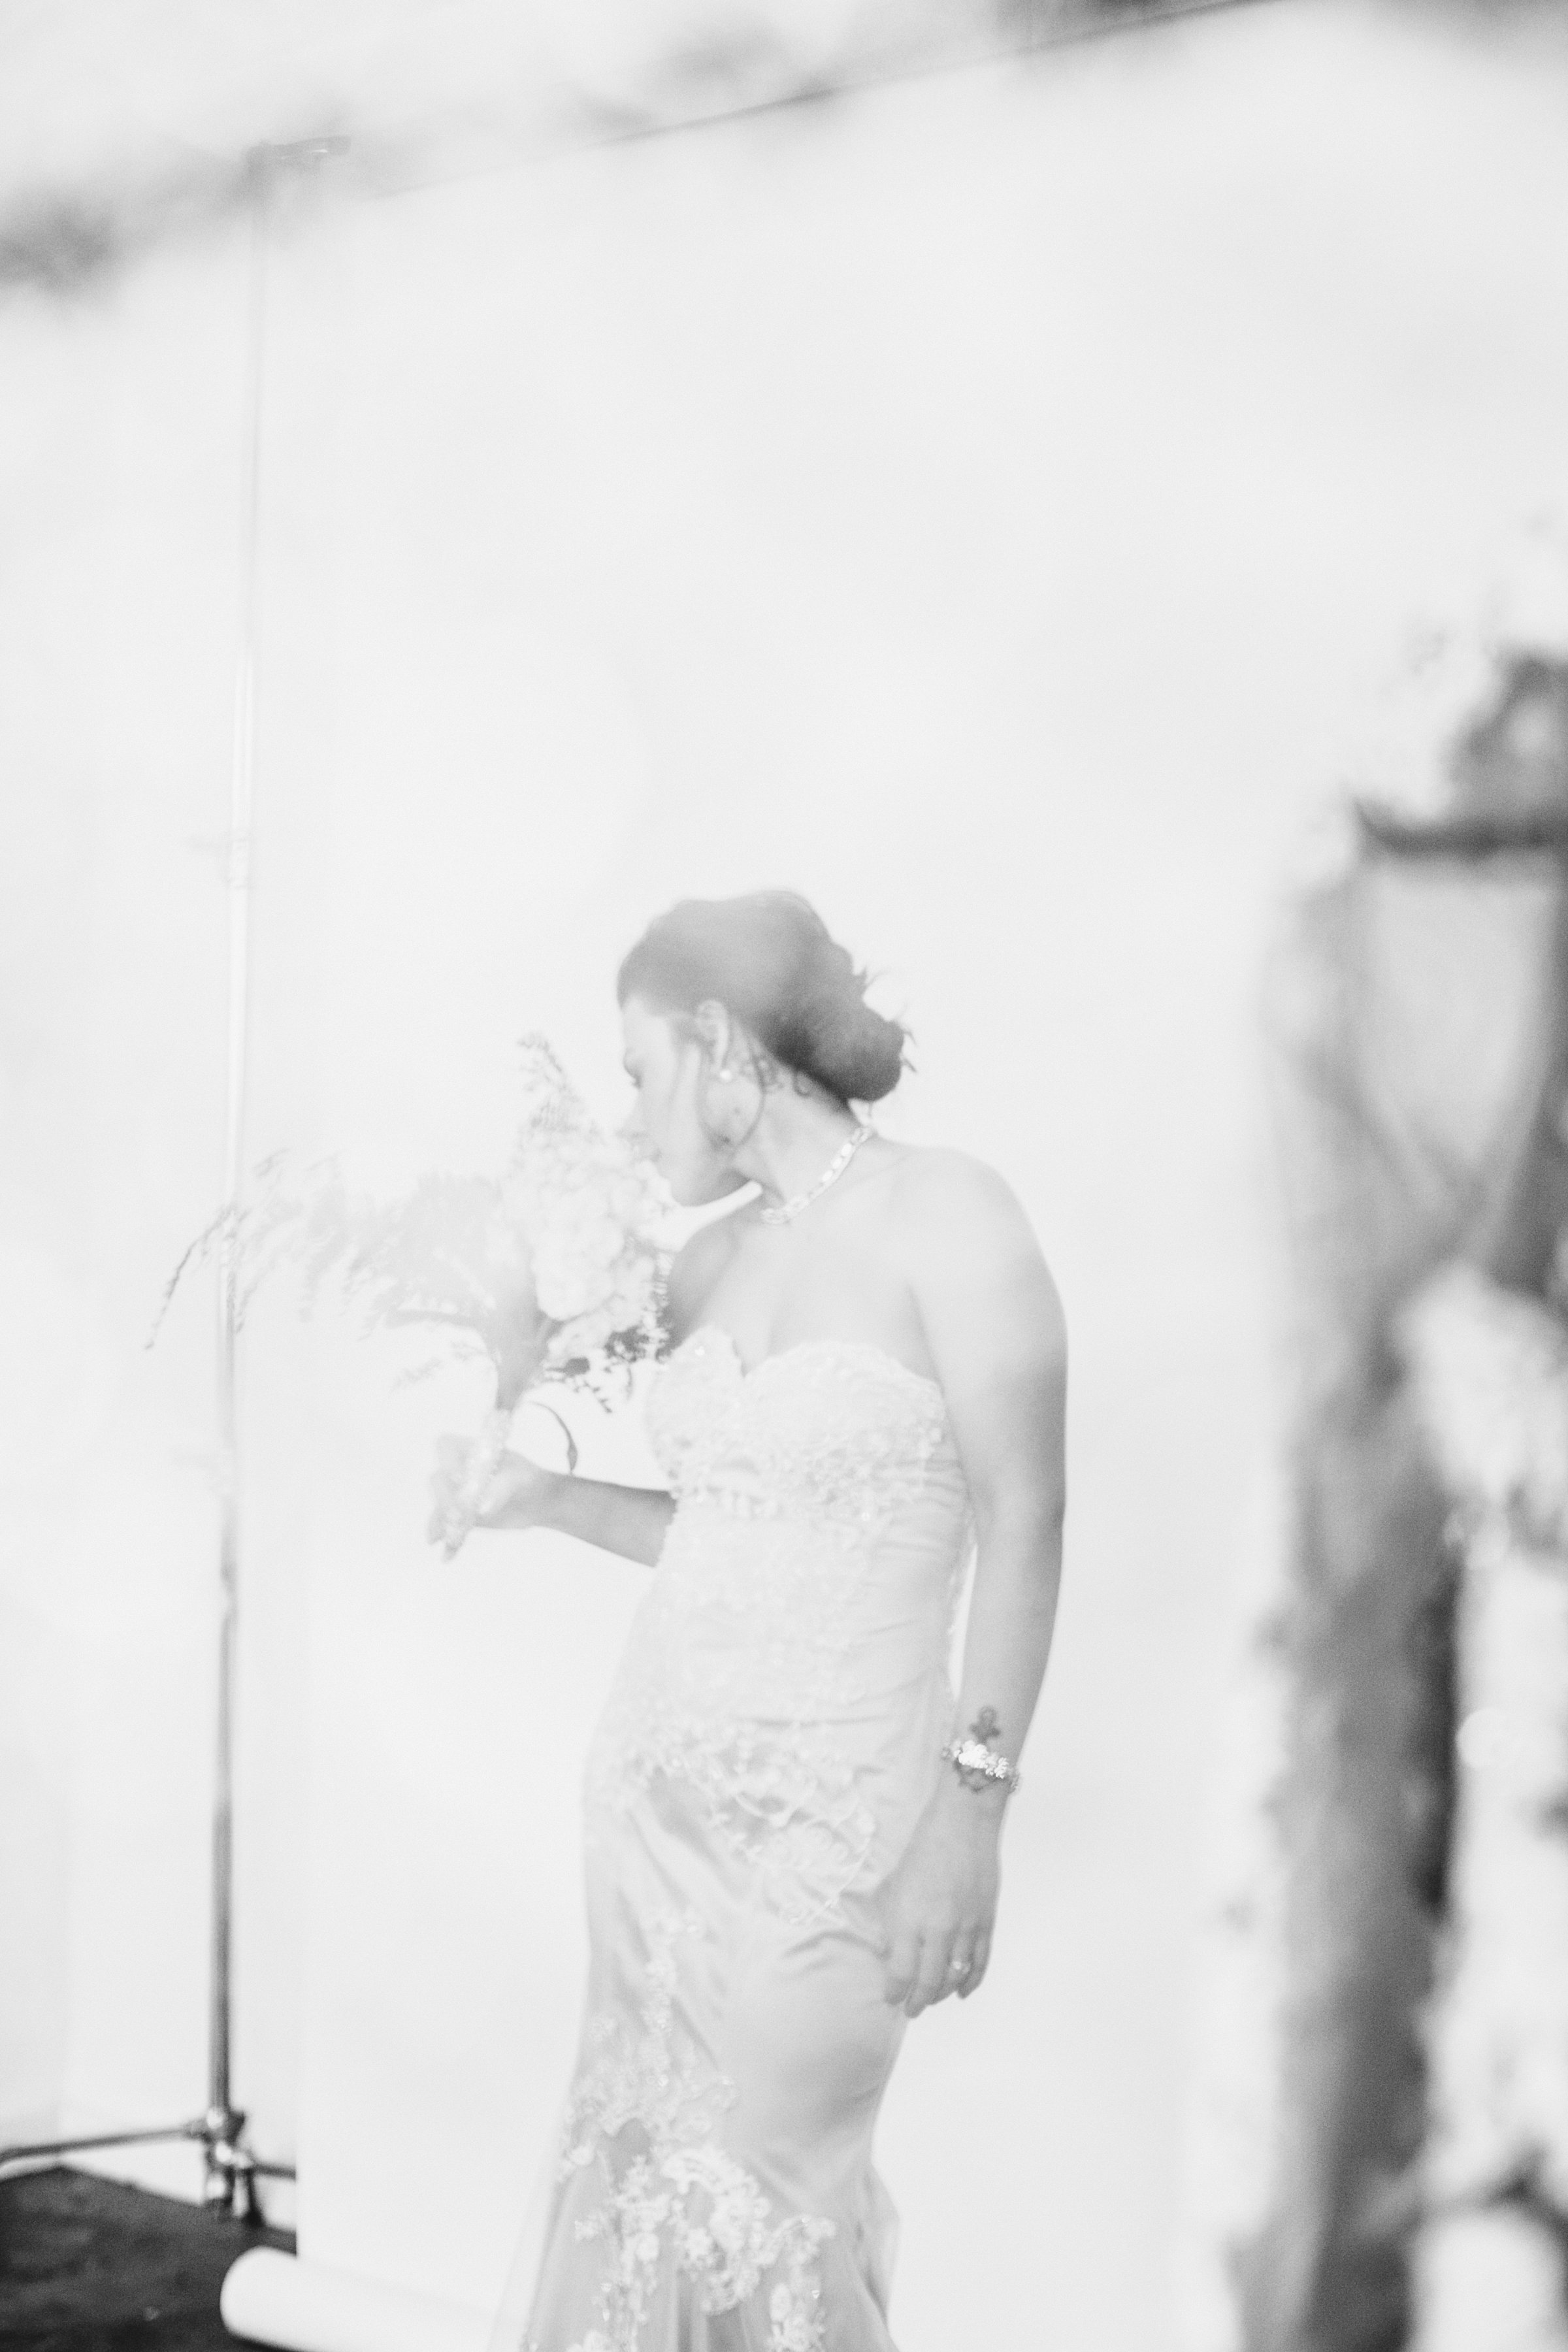
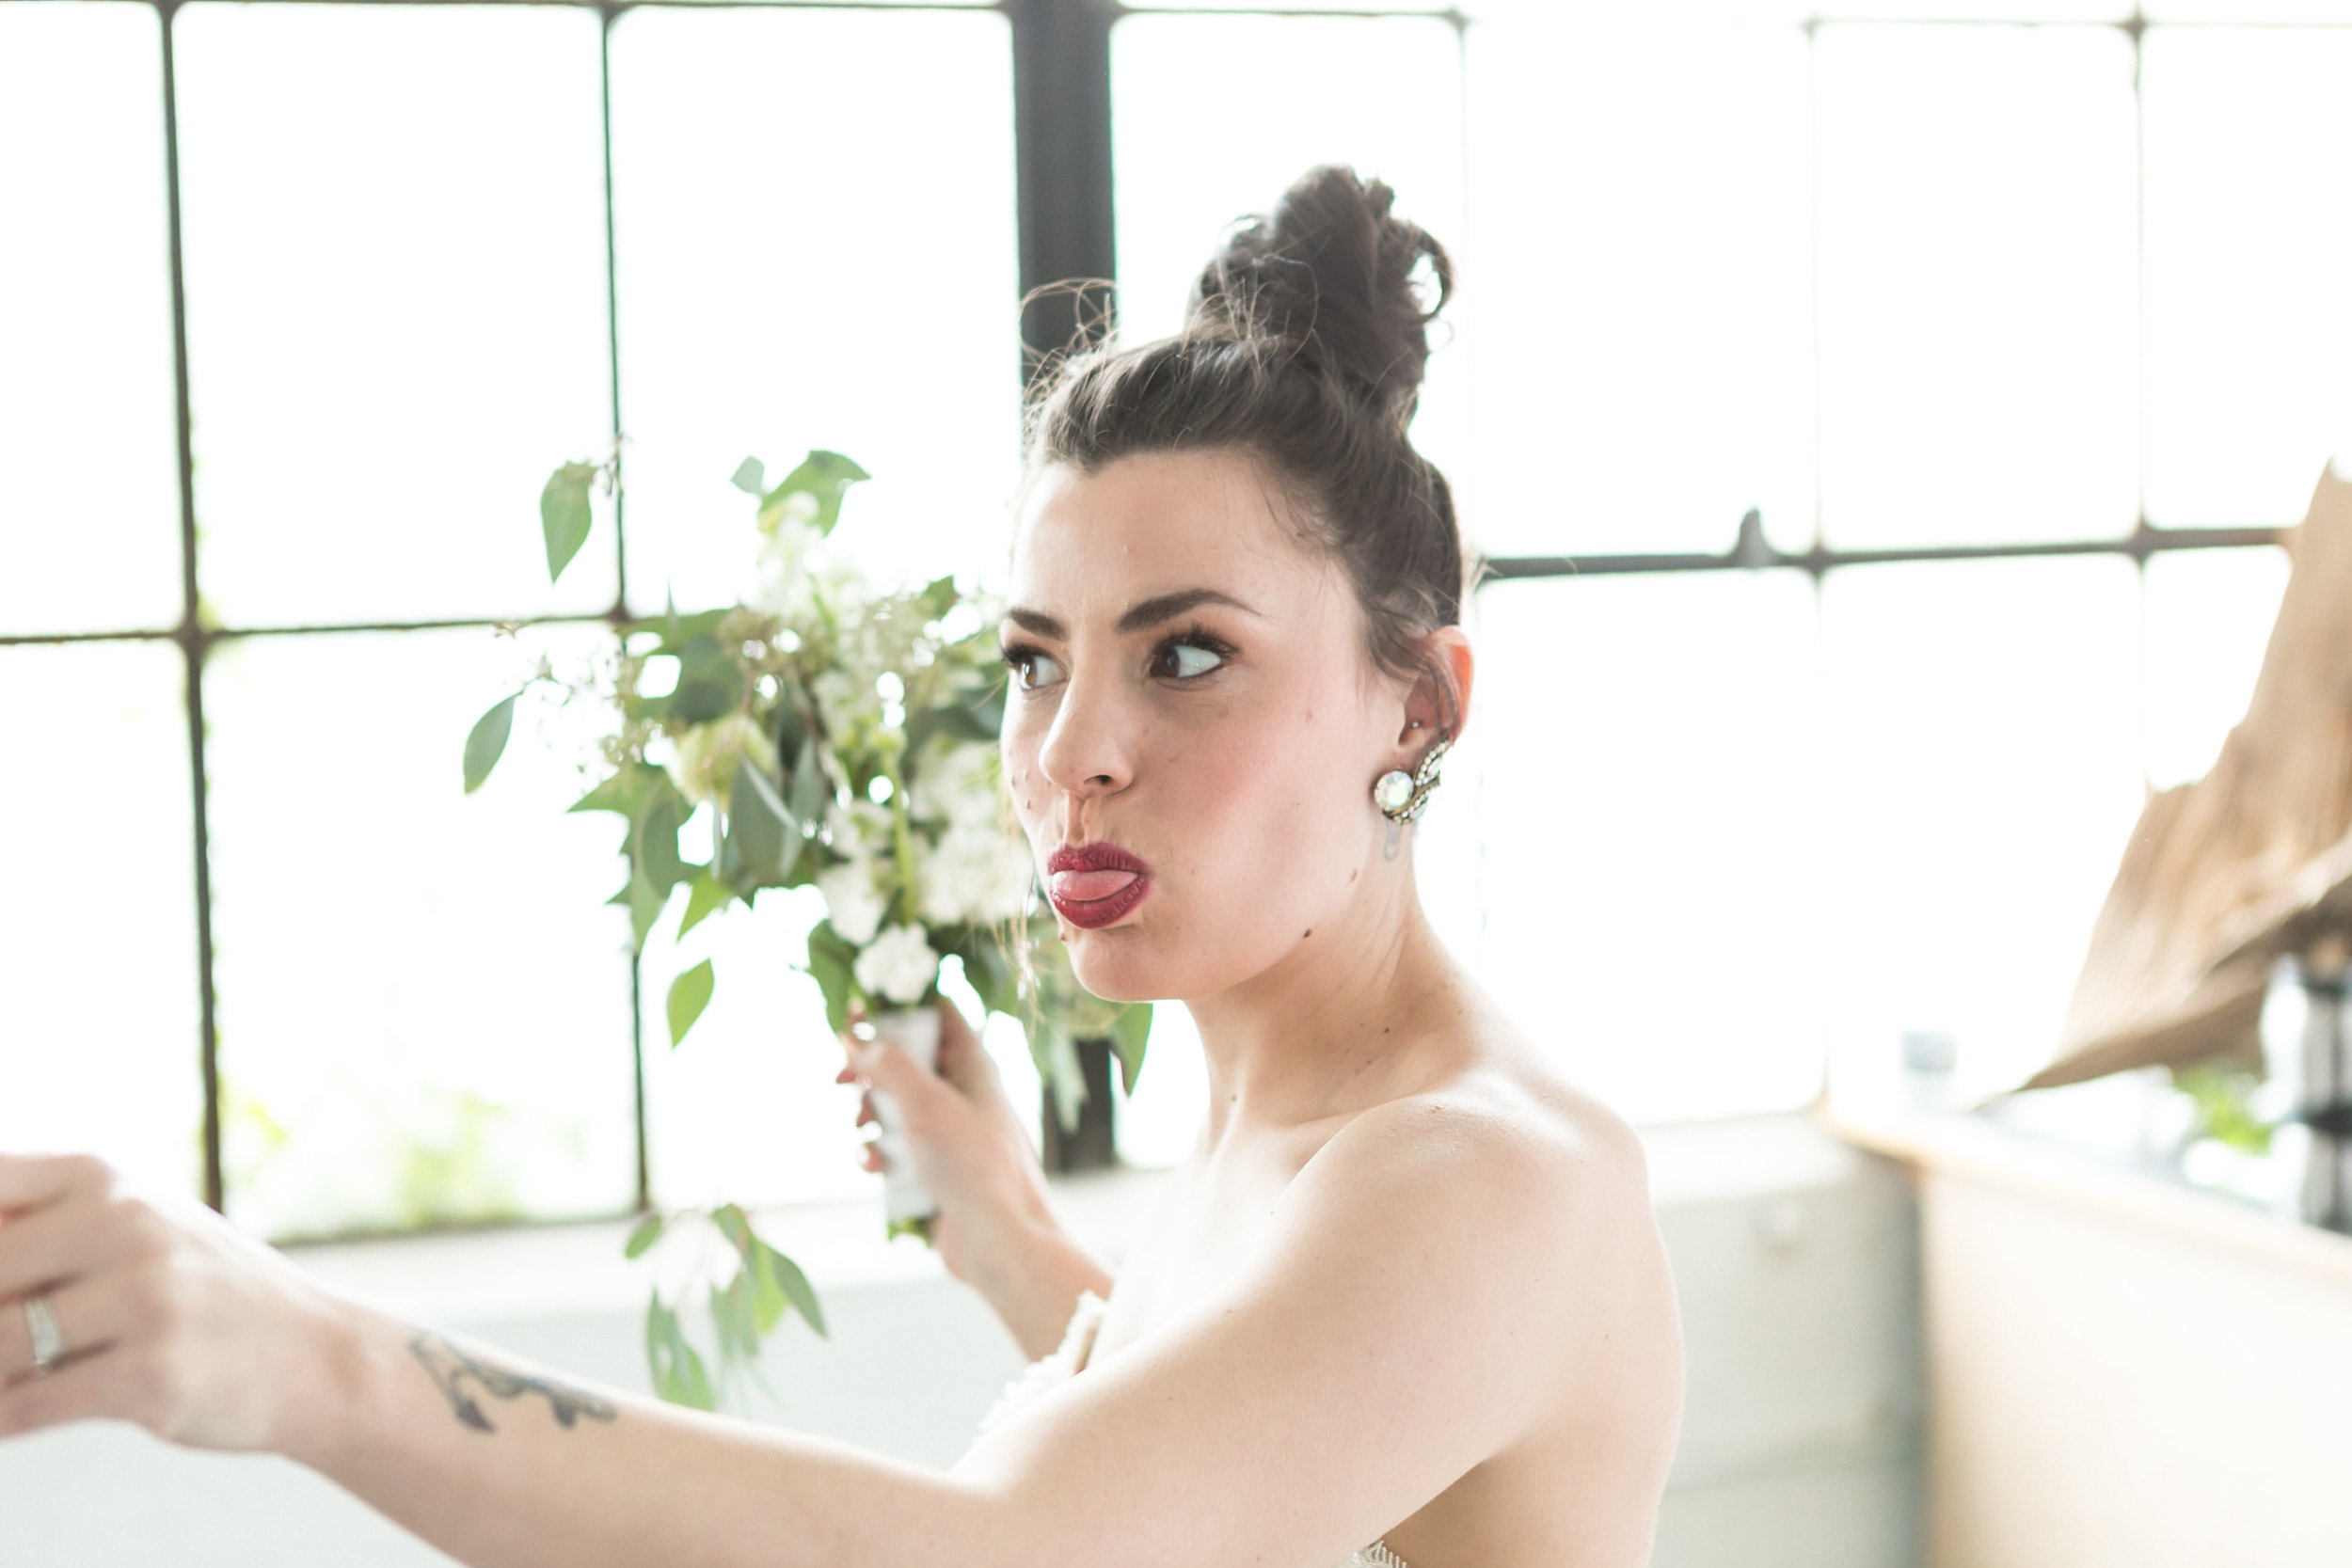
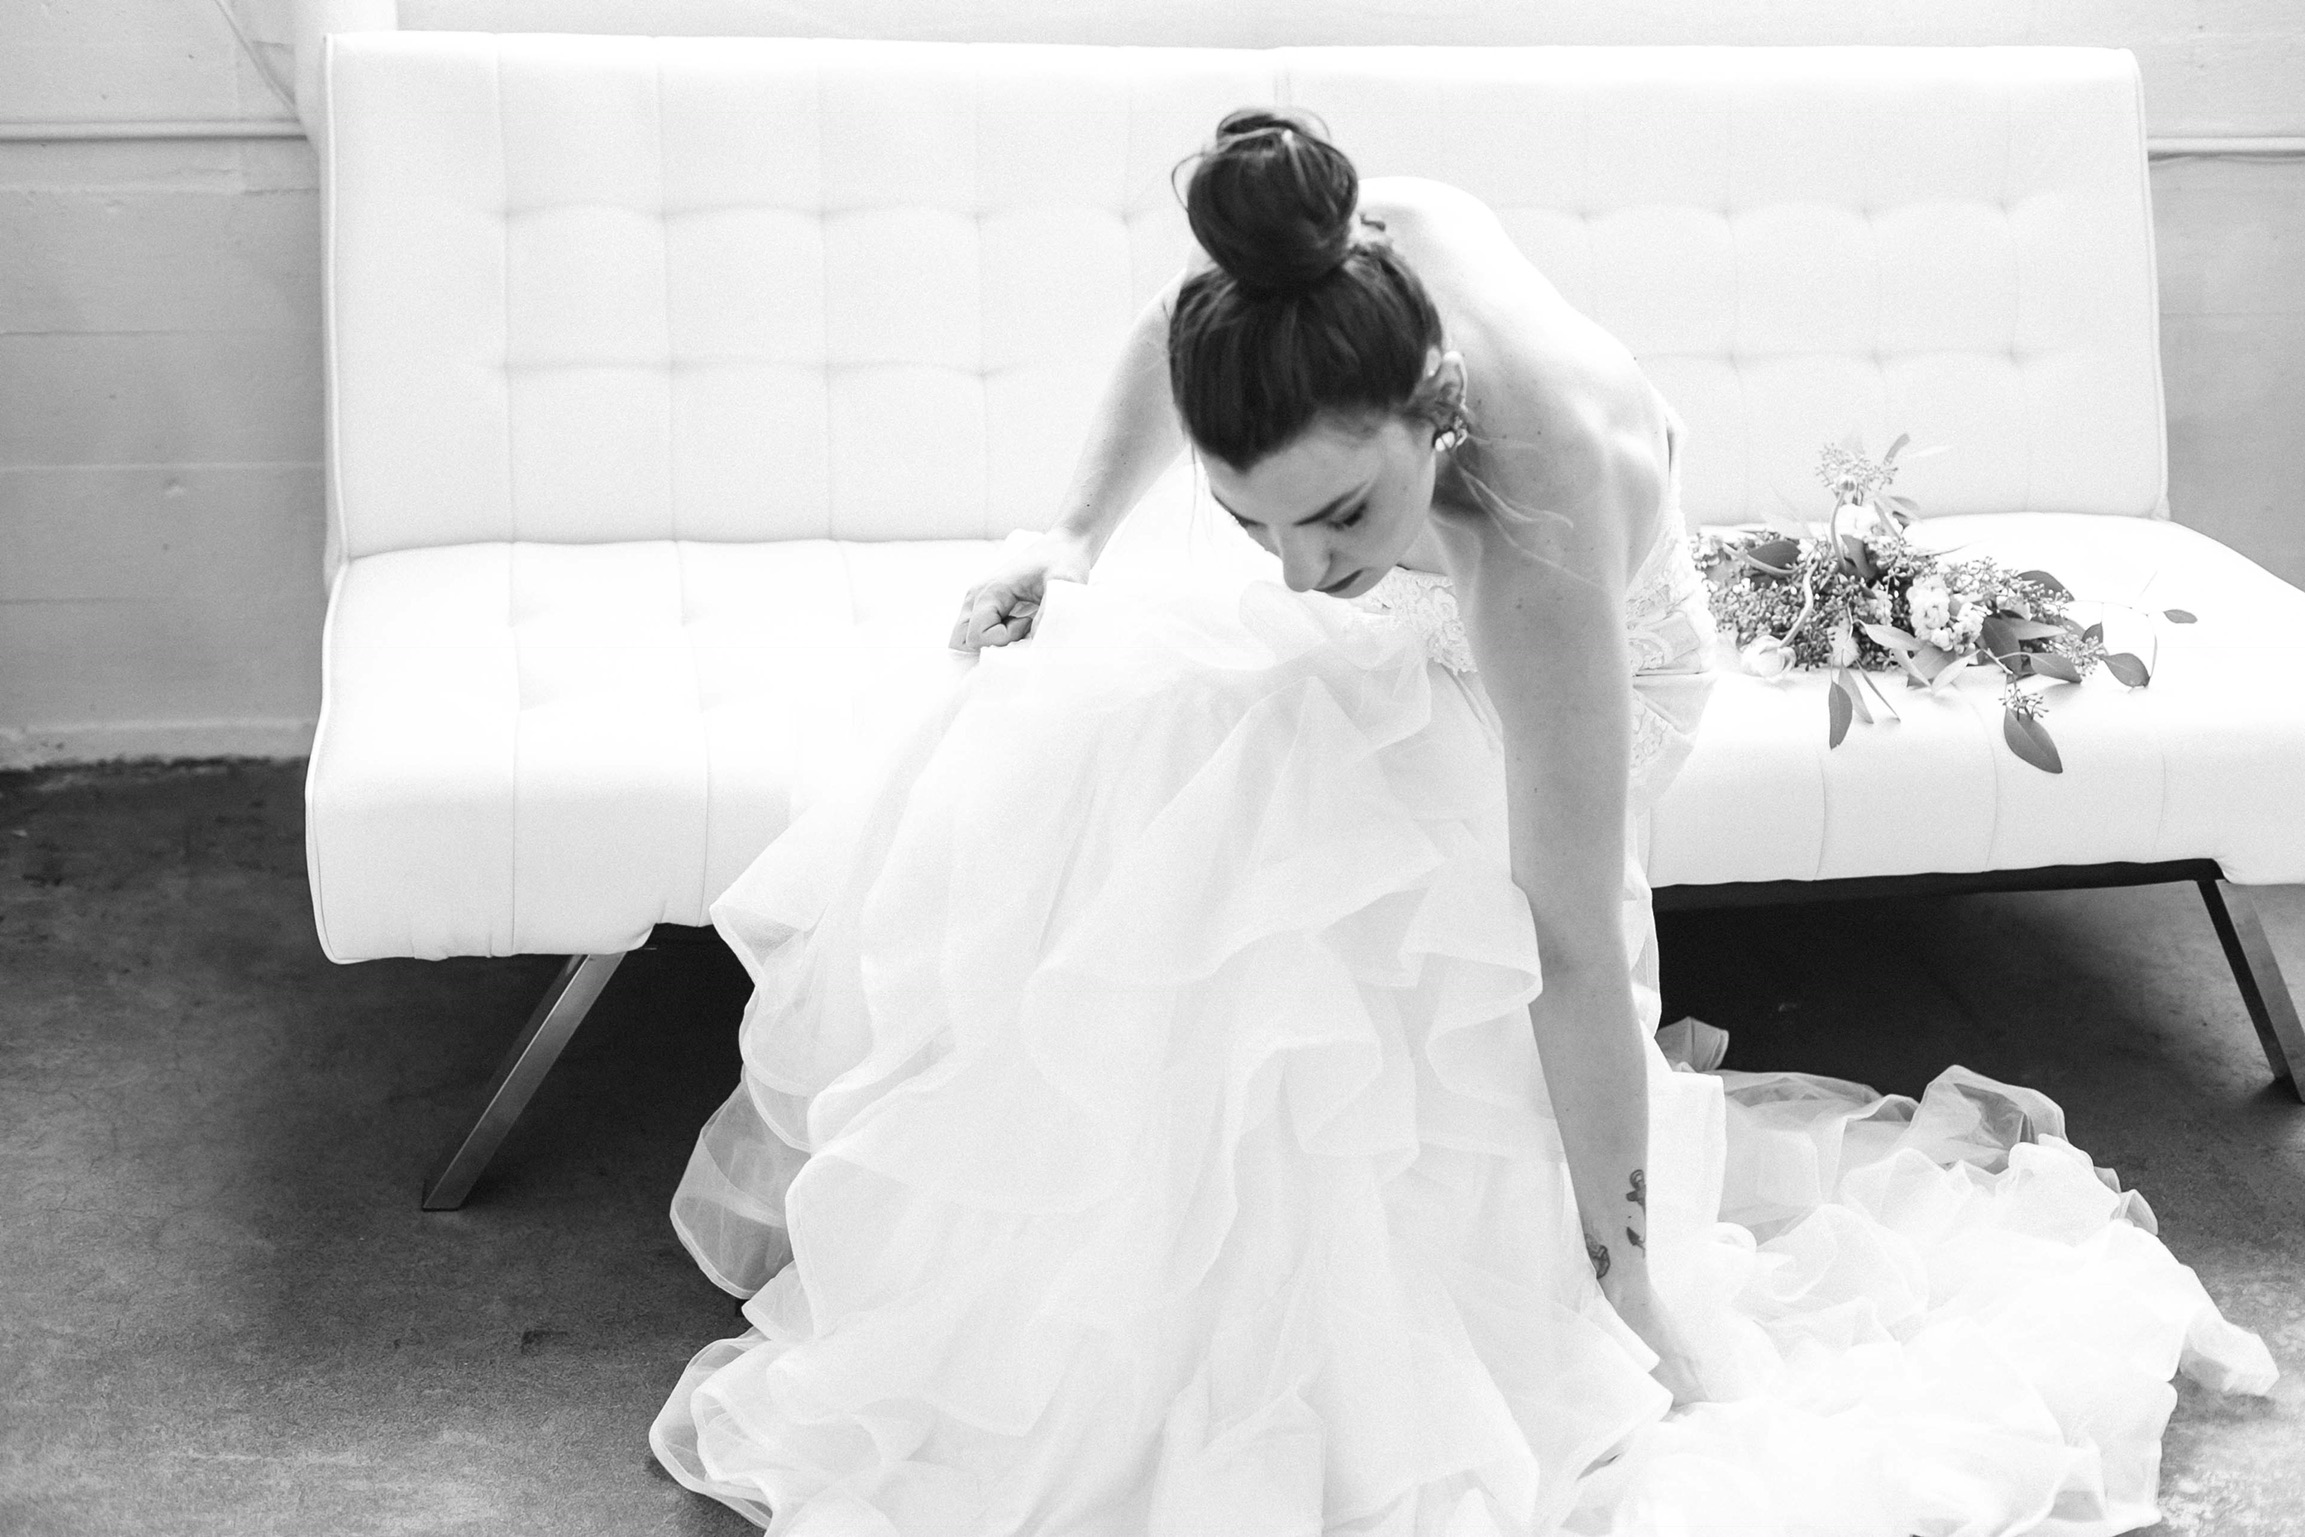
BEHIND the SCENES
WHEN IT SNOWS, THE WORK DOESN'T STOP...
It was so difficult get out of BEACON HILL that Monday when it snowed, but lord was it WORTH IT! Working with NINETHIRTYCREATIVE is always a pleasure.
@jamyrlyn_mua and model @urban_chic were great as well!! My very first time working with these 2 snd their energy in the studio is contagious.
Playing with @knoxstandard floral arrangements were so fun. She made a few banquets, head pieces and even used some of my gems to add a little sparkle to the banquet.

BEHIND the SCENES
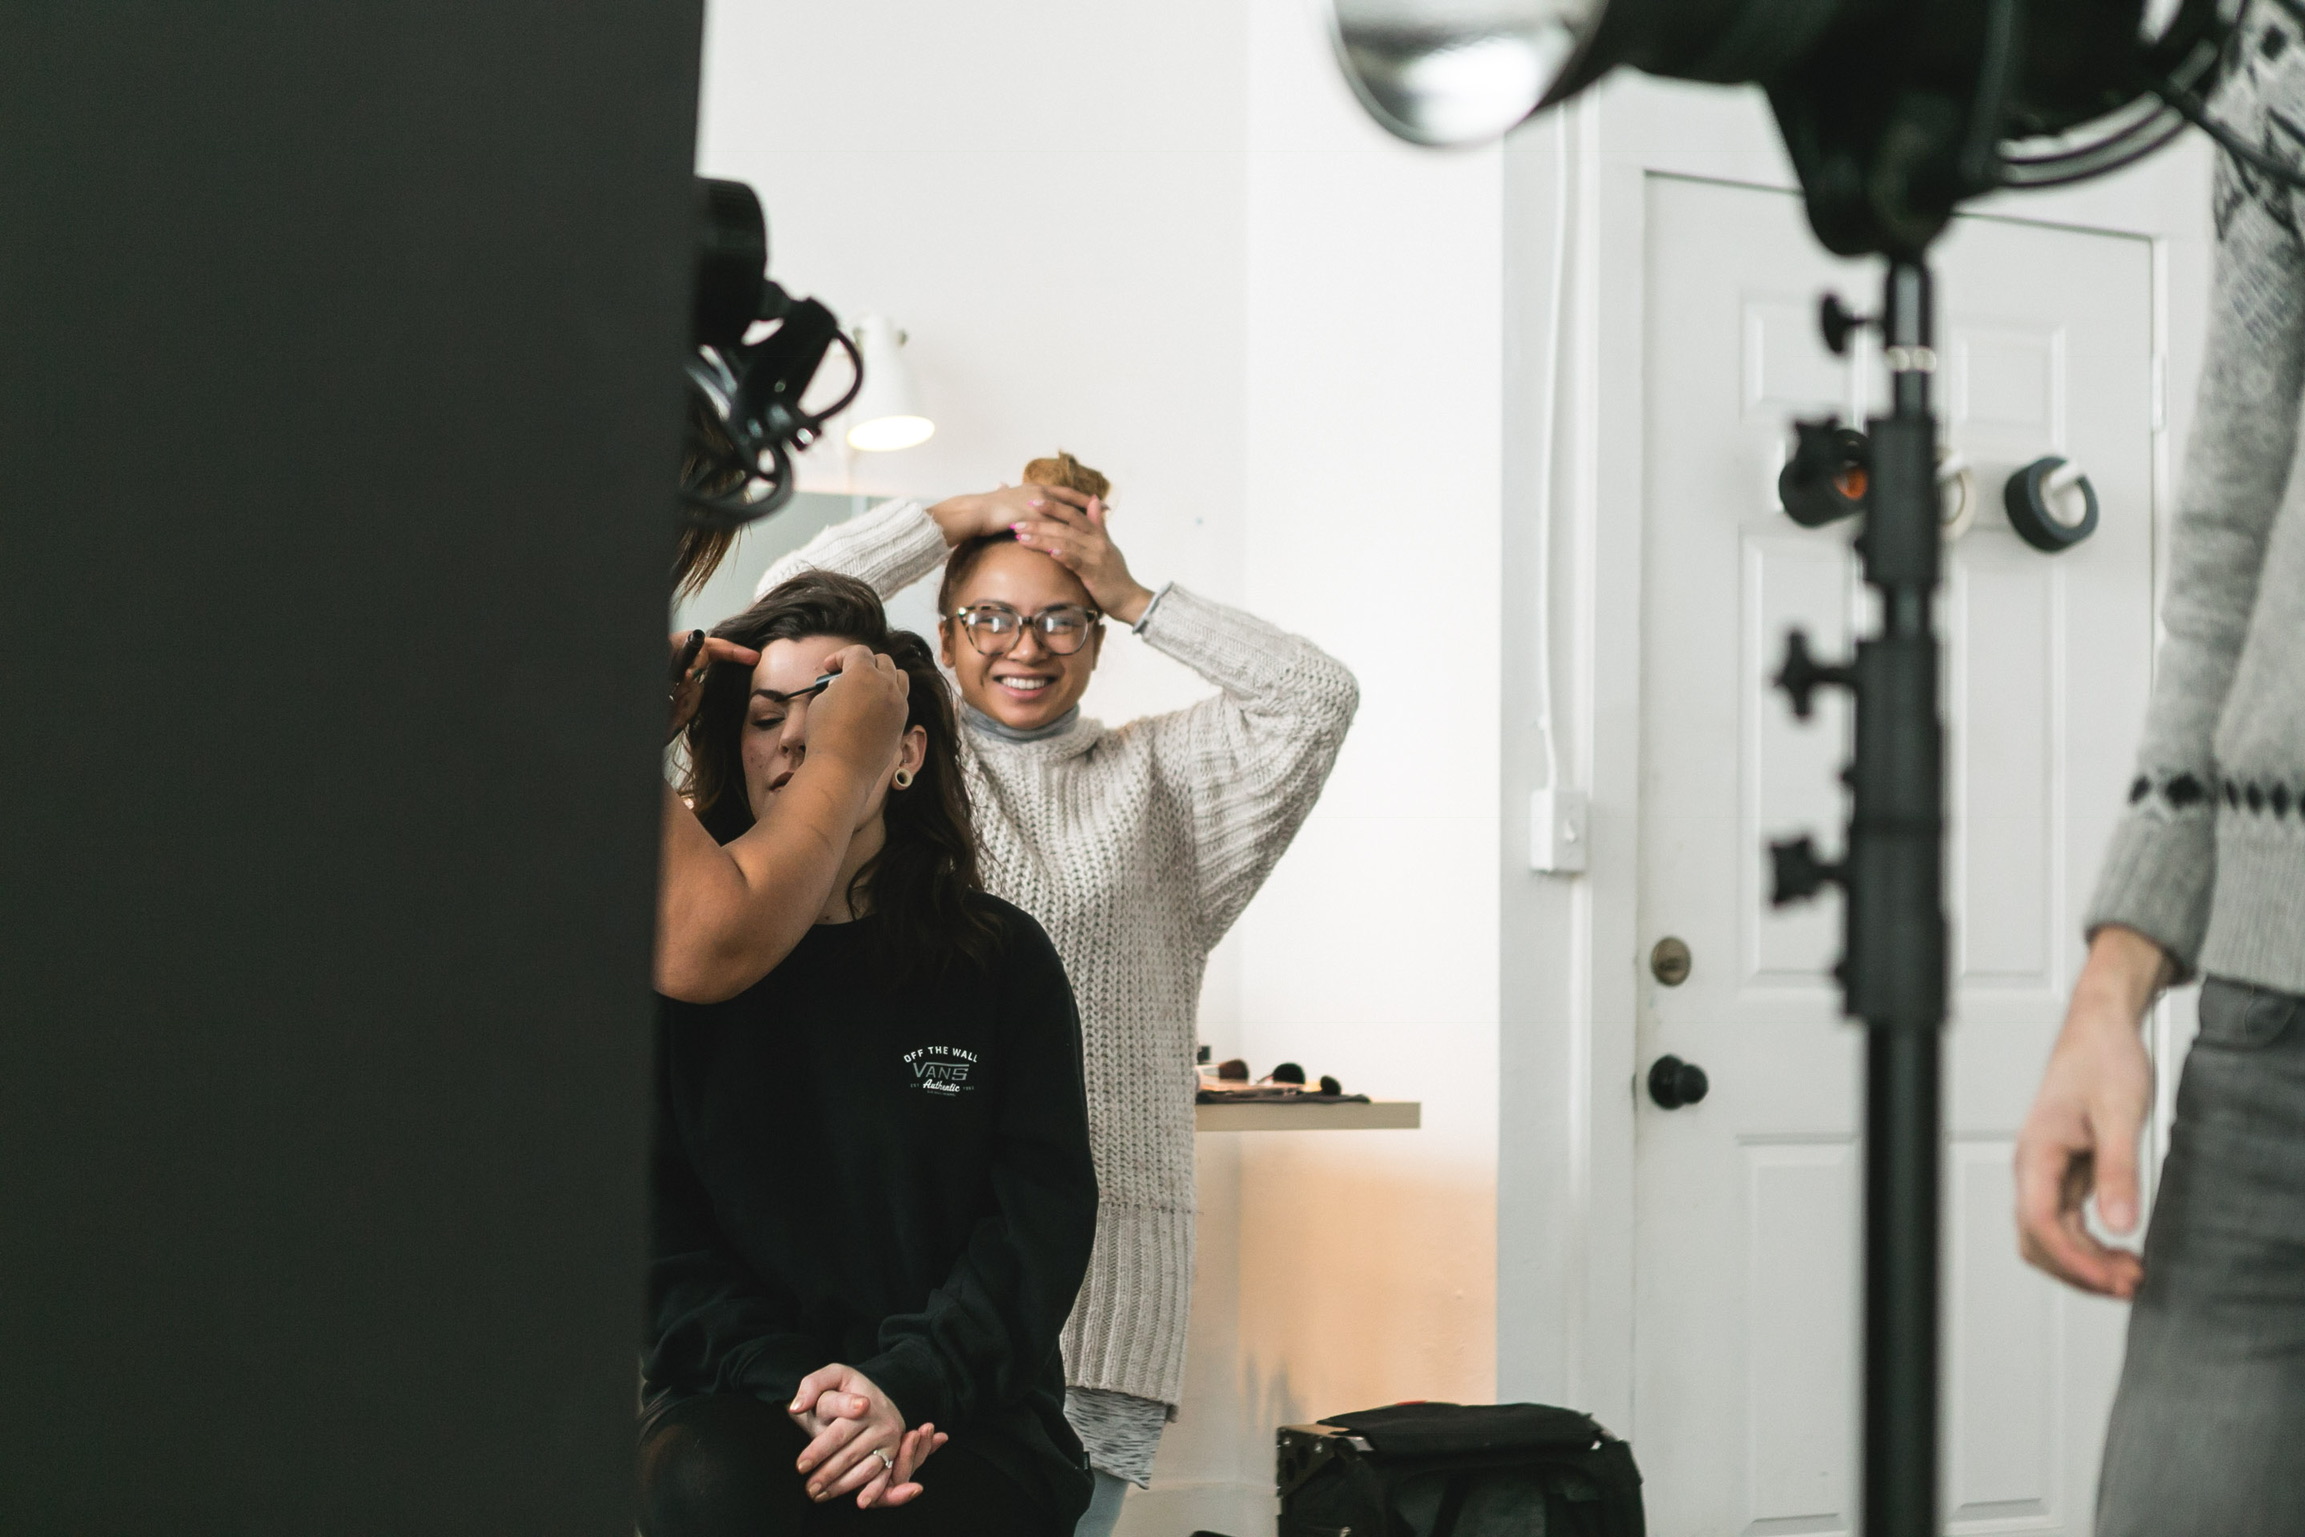
BEHIND the SCENES
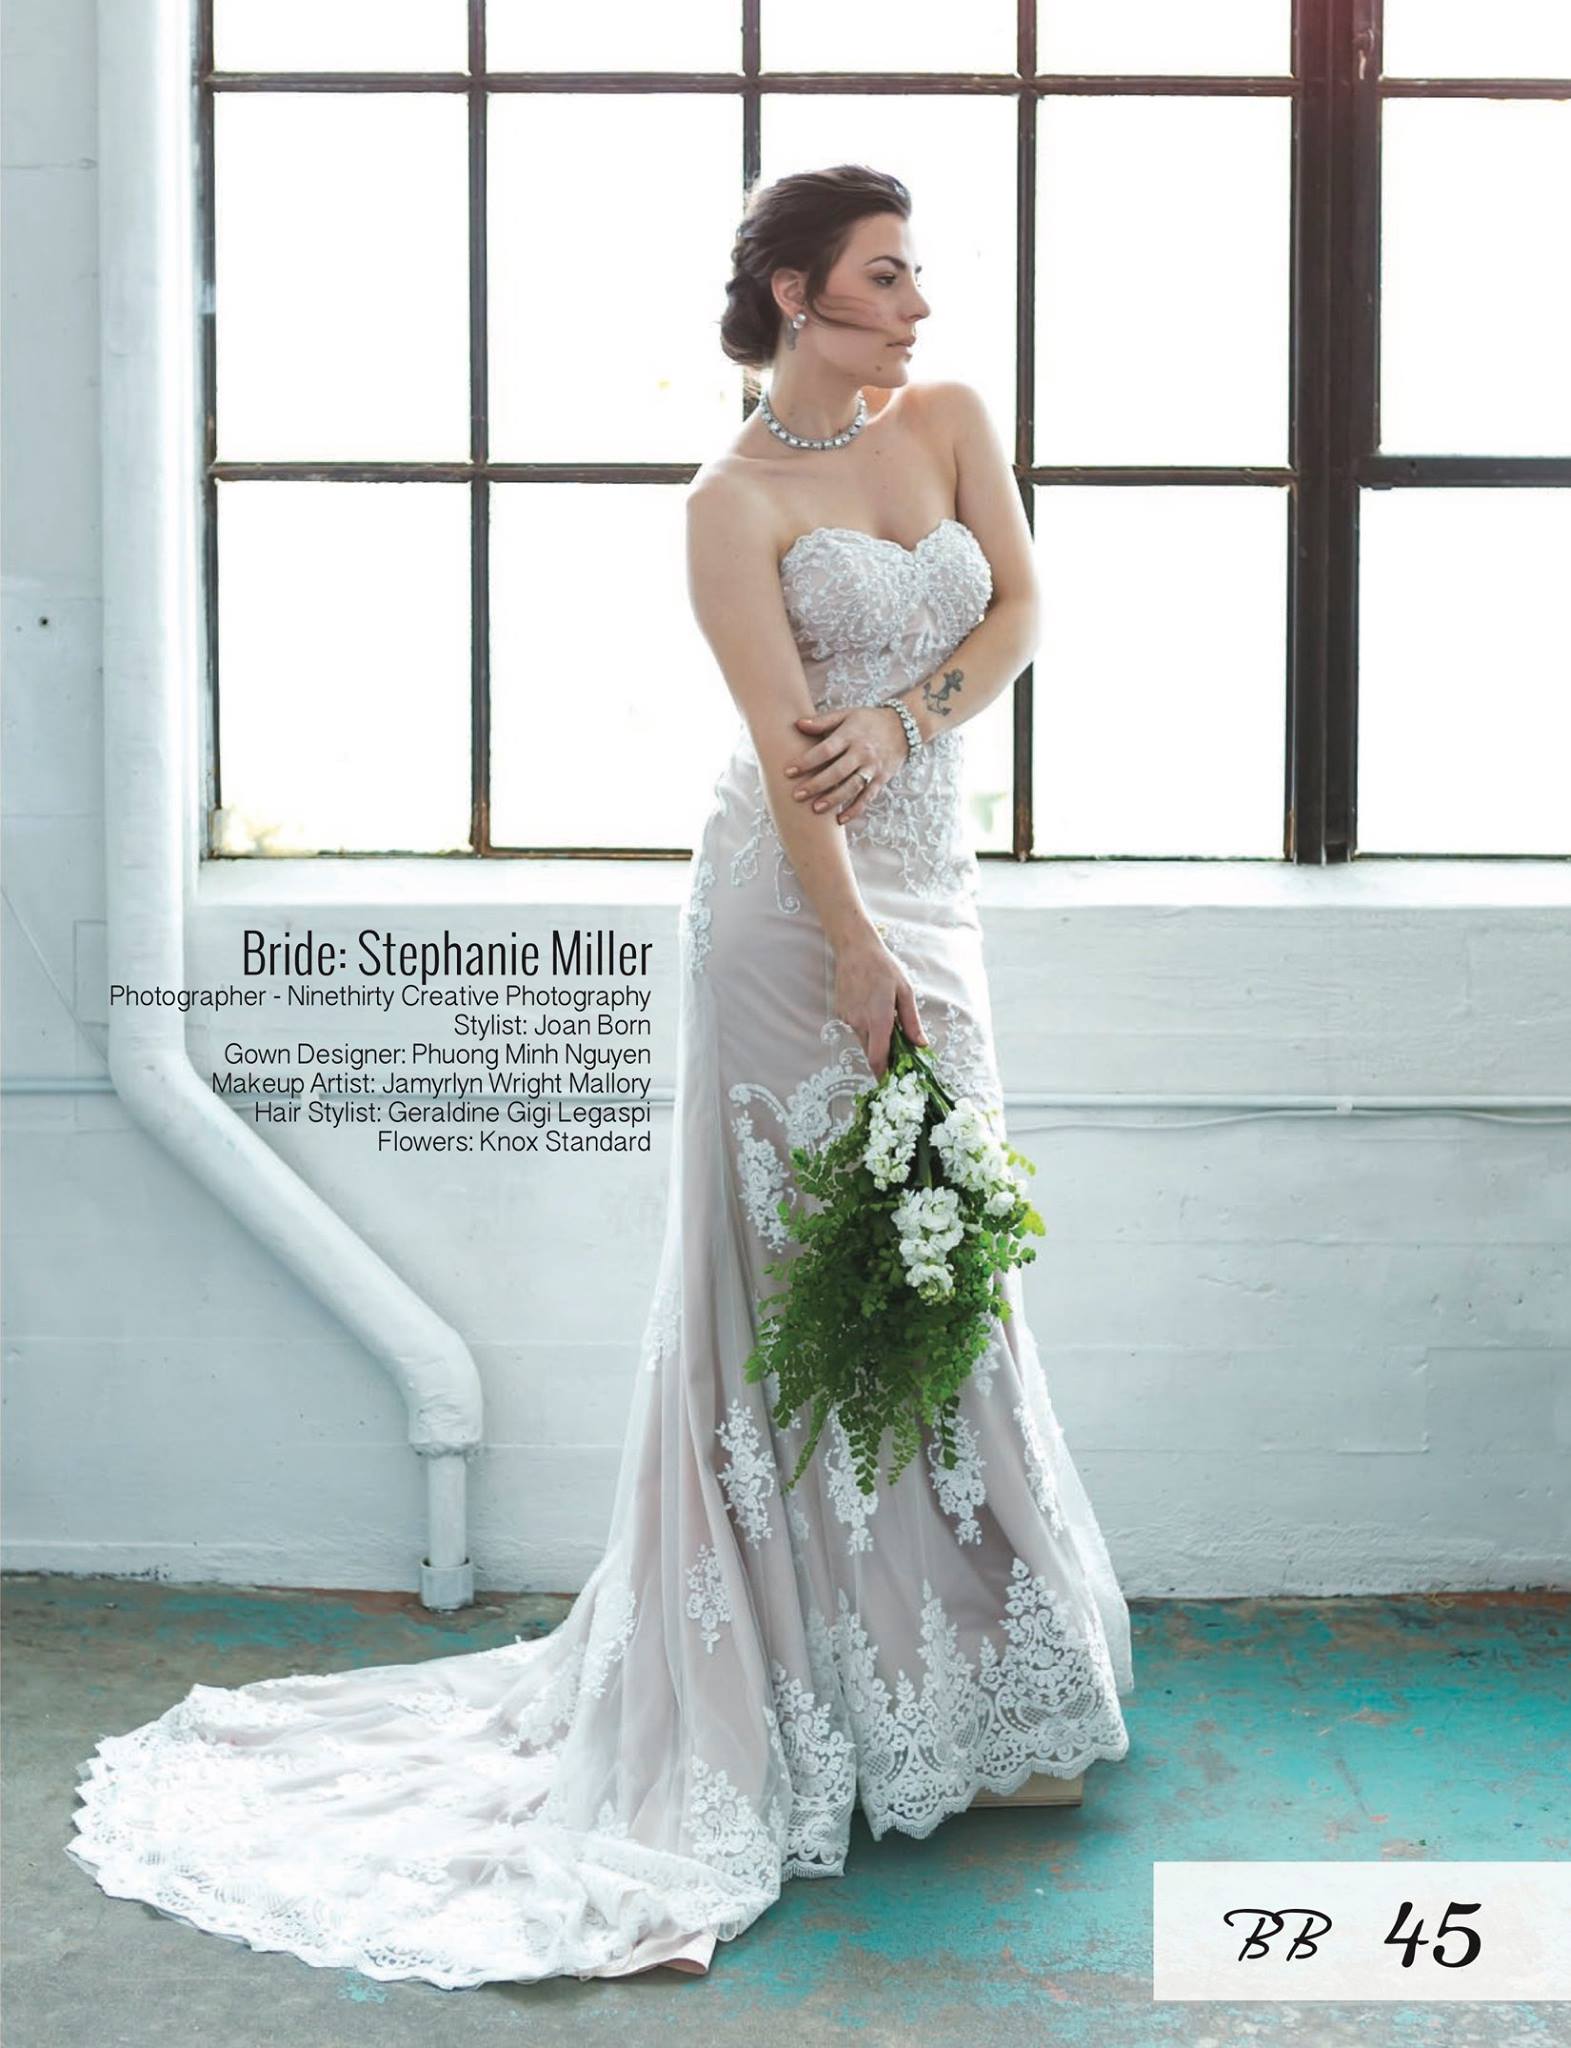
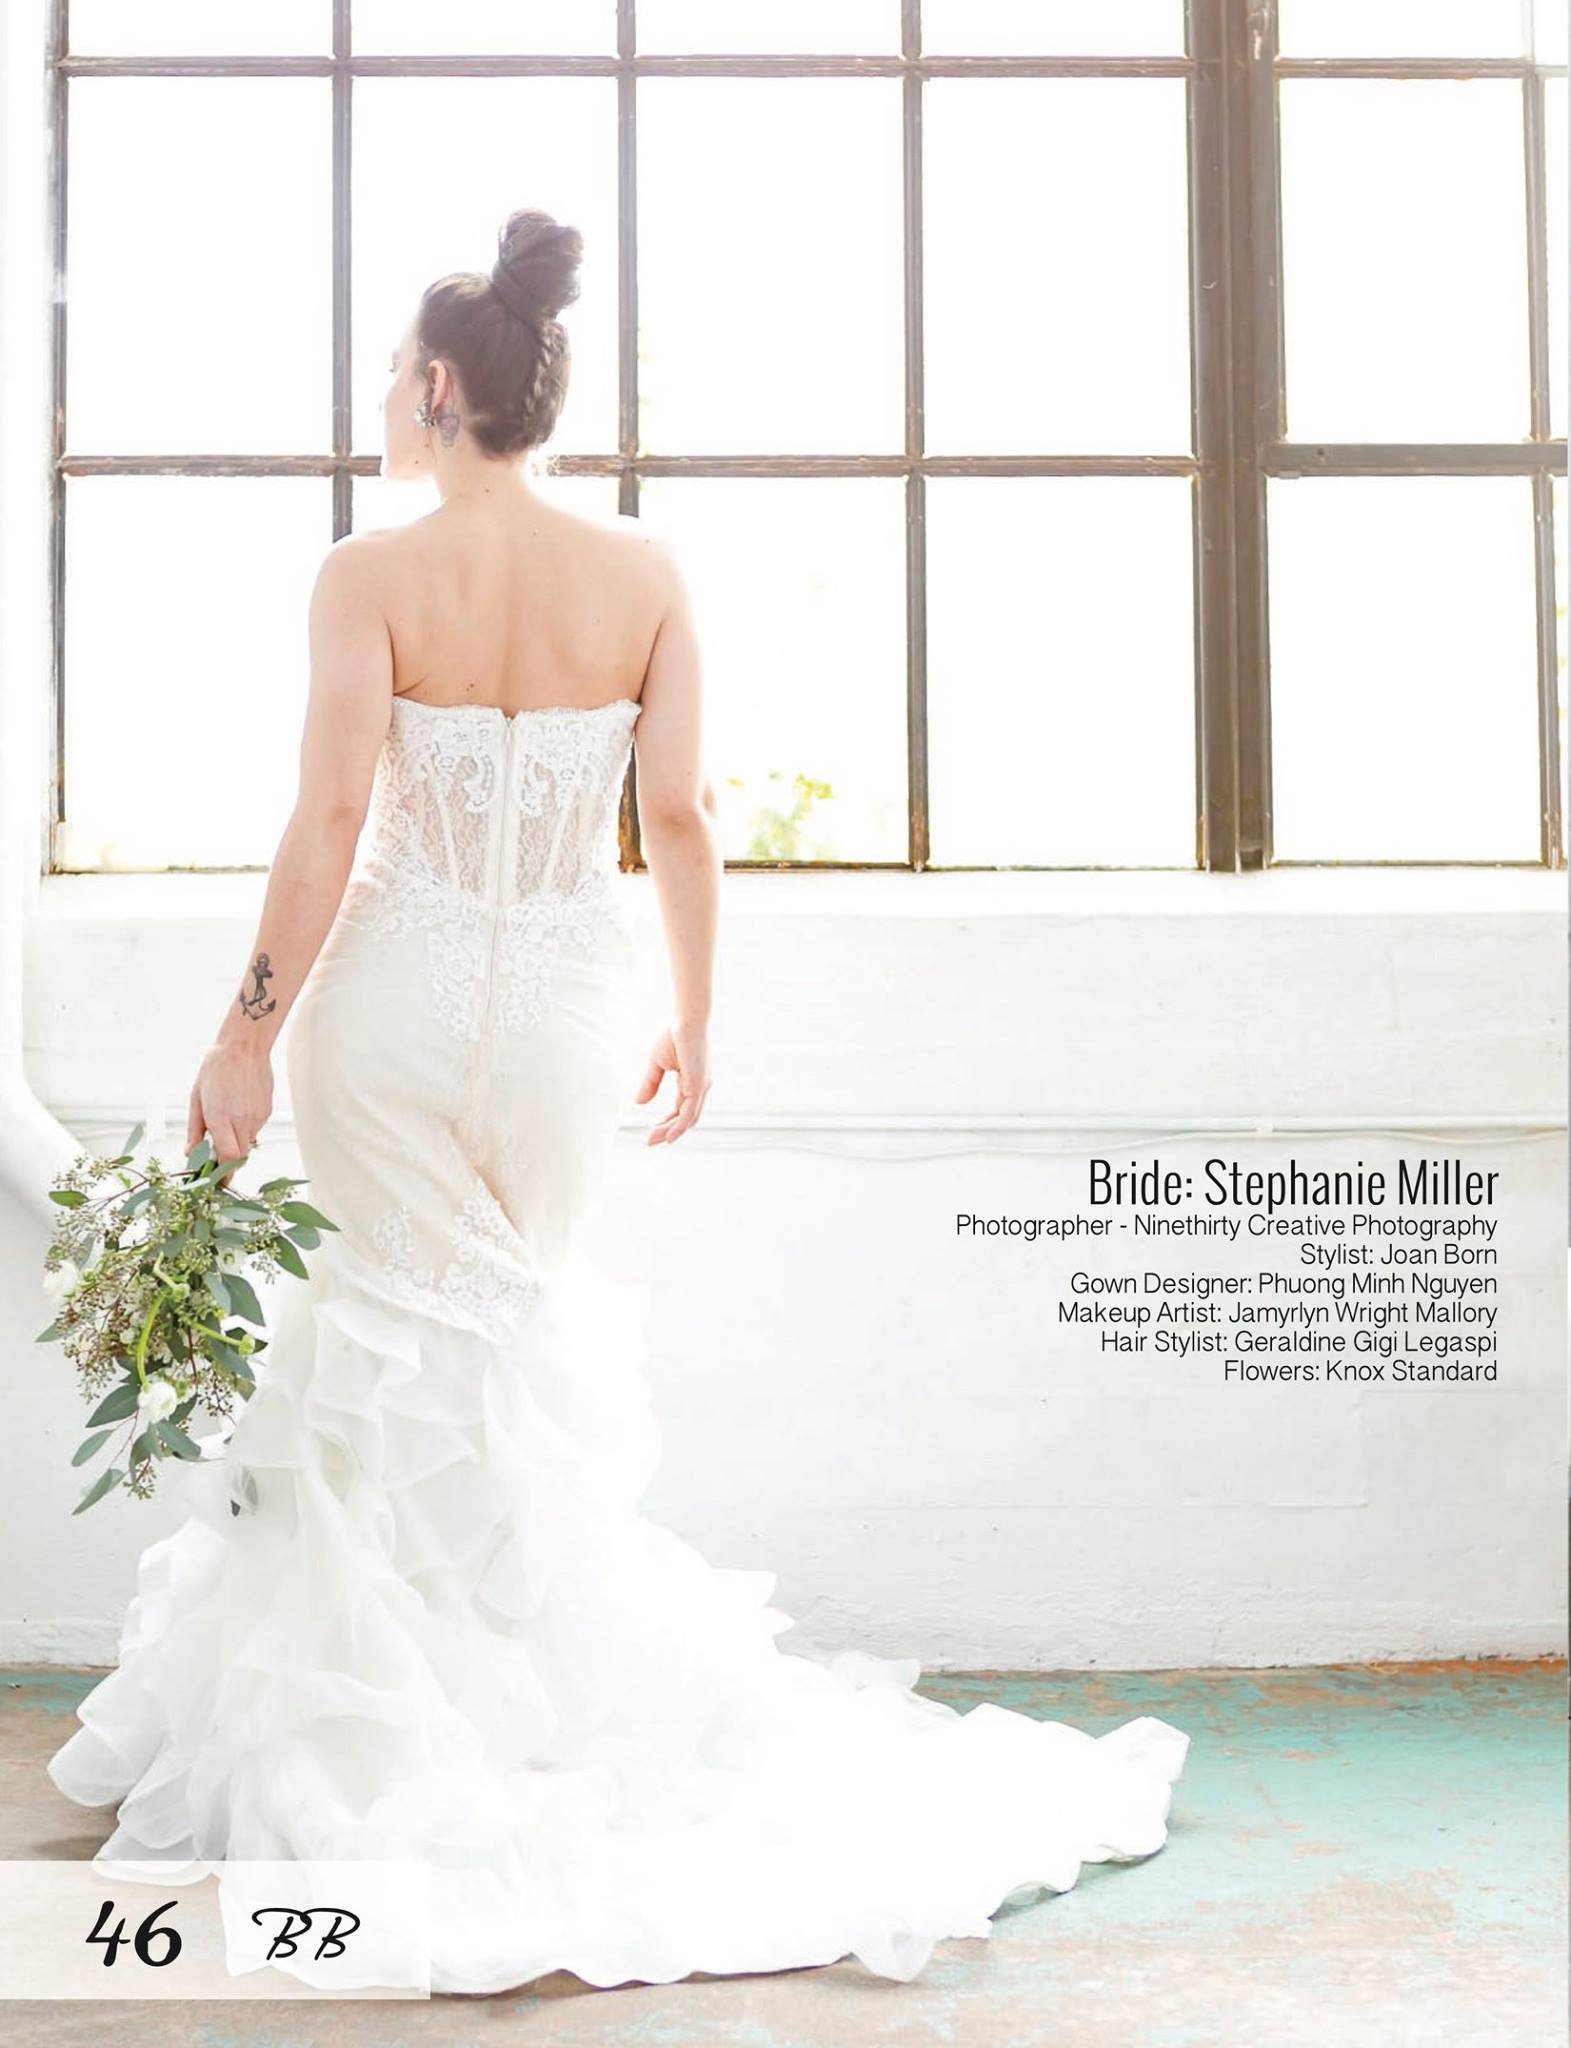
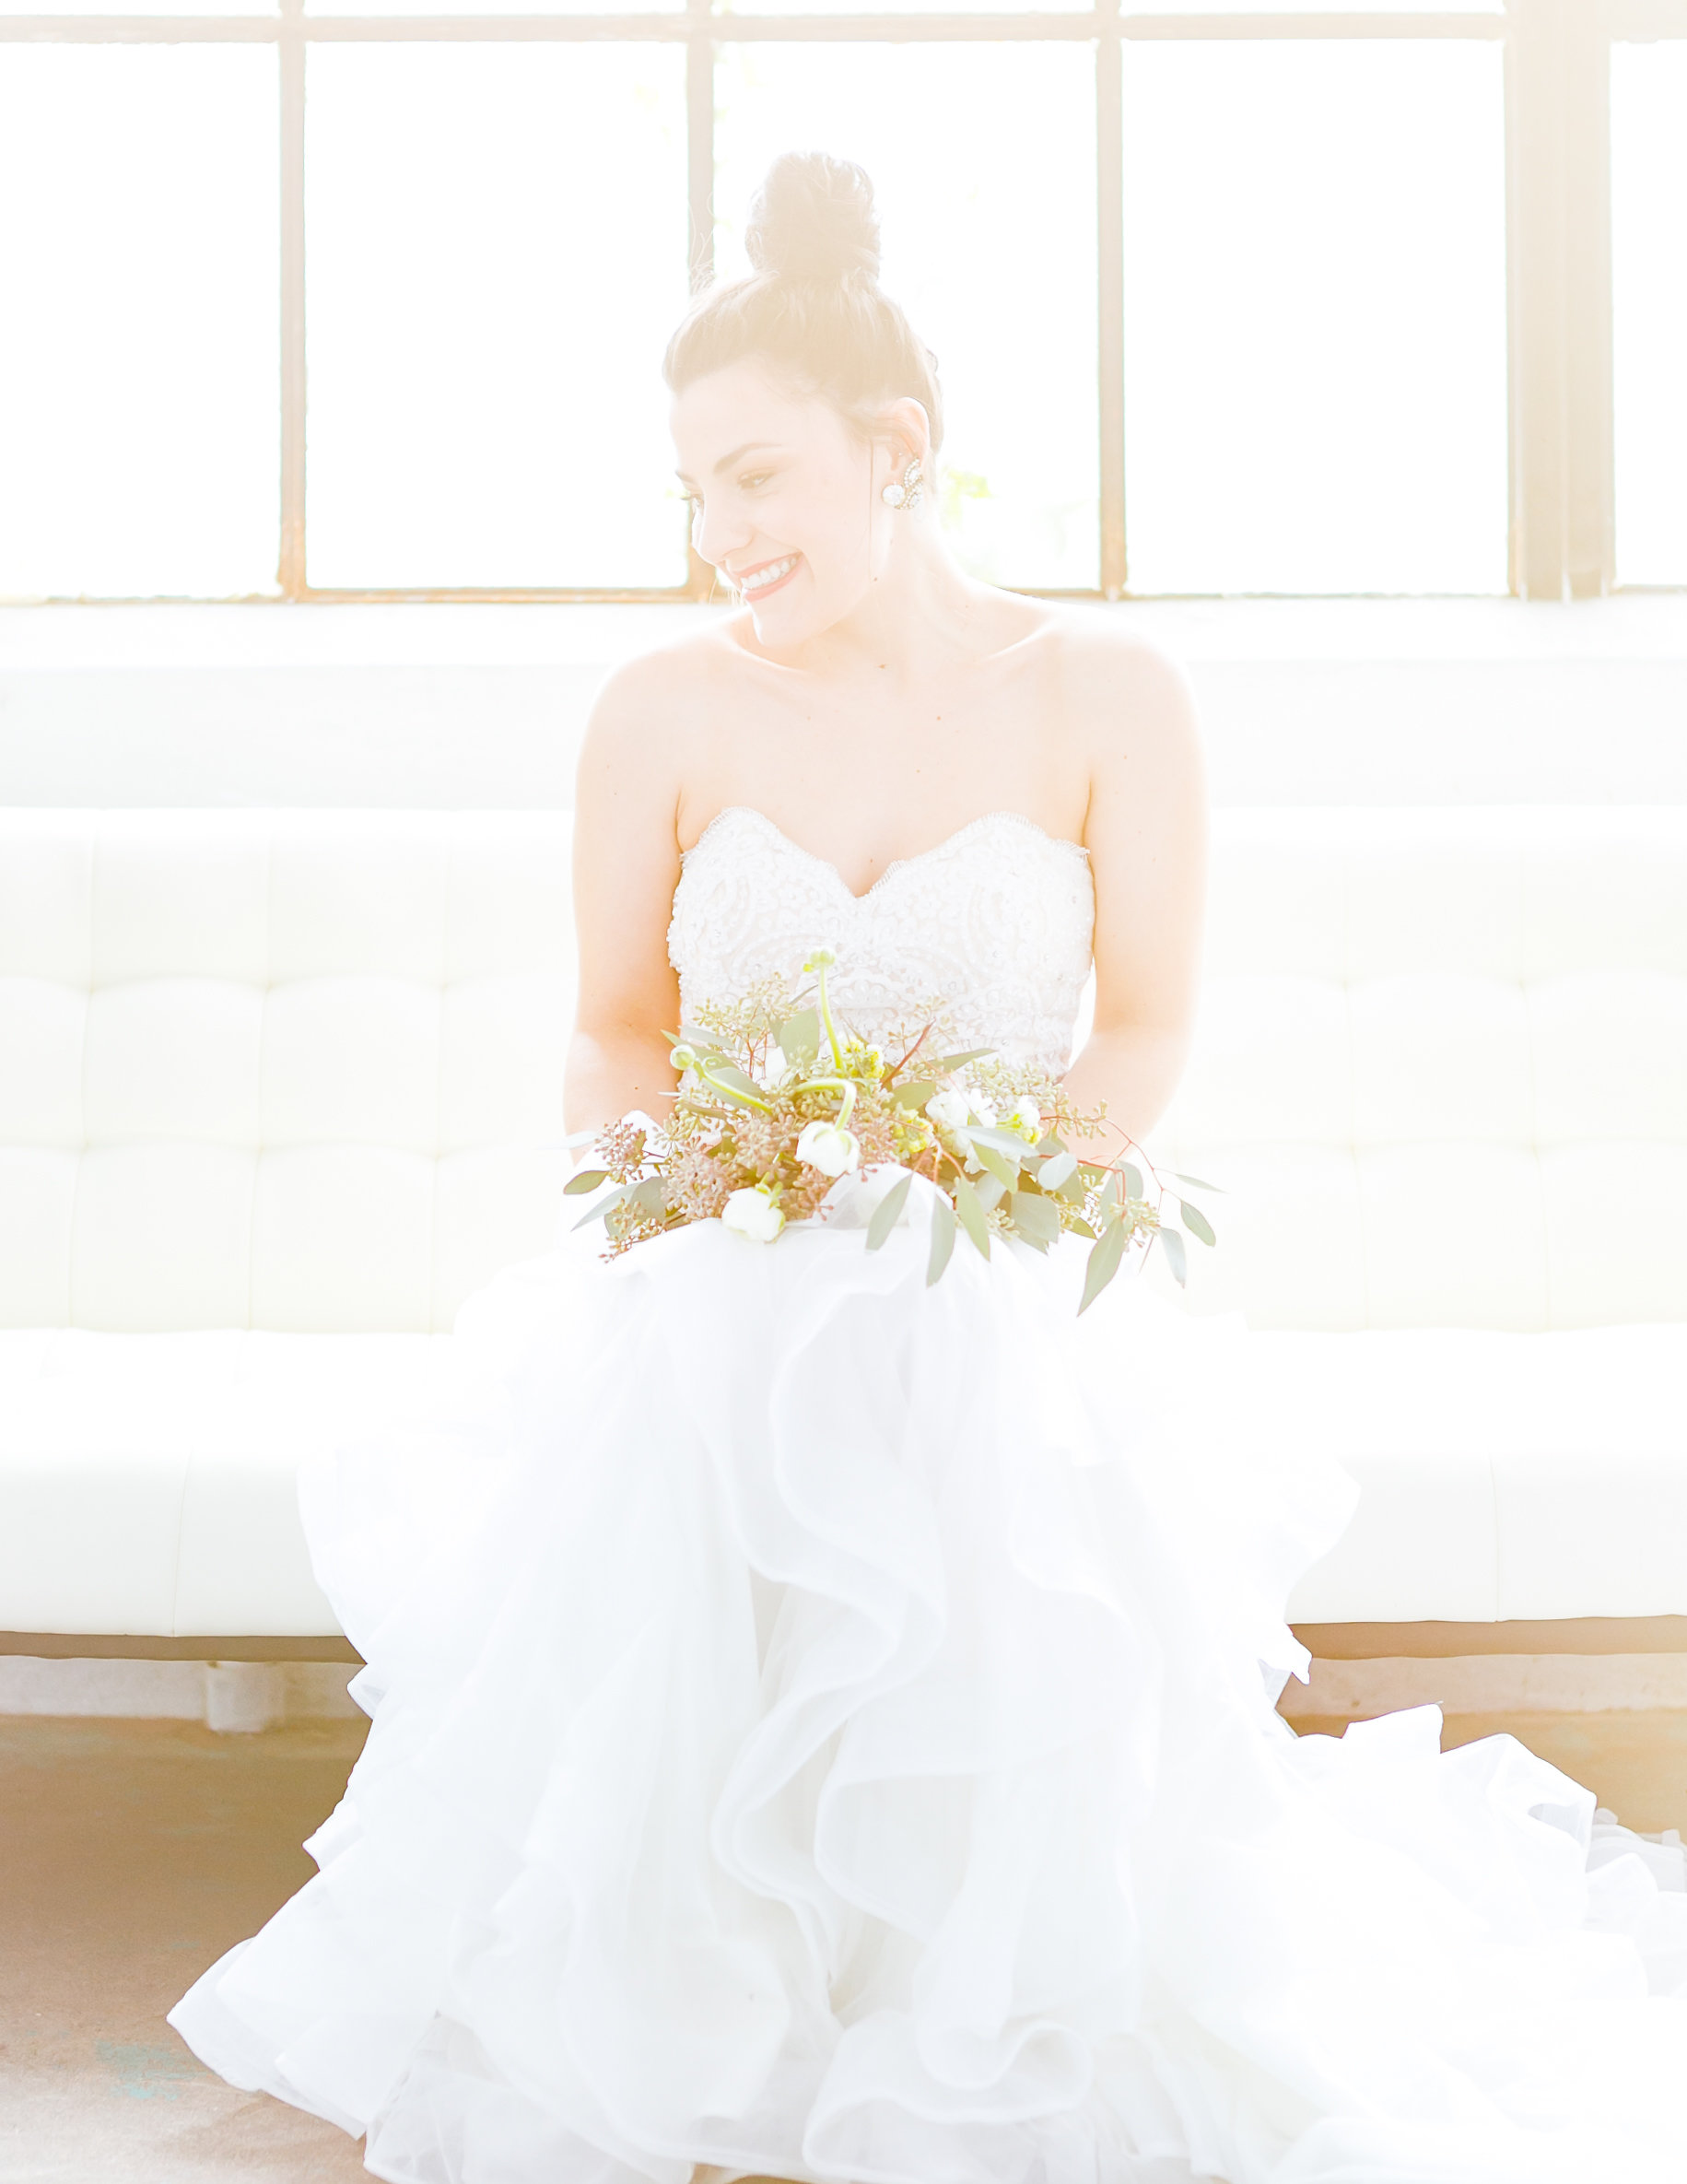
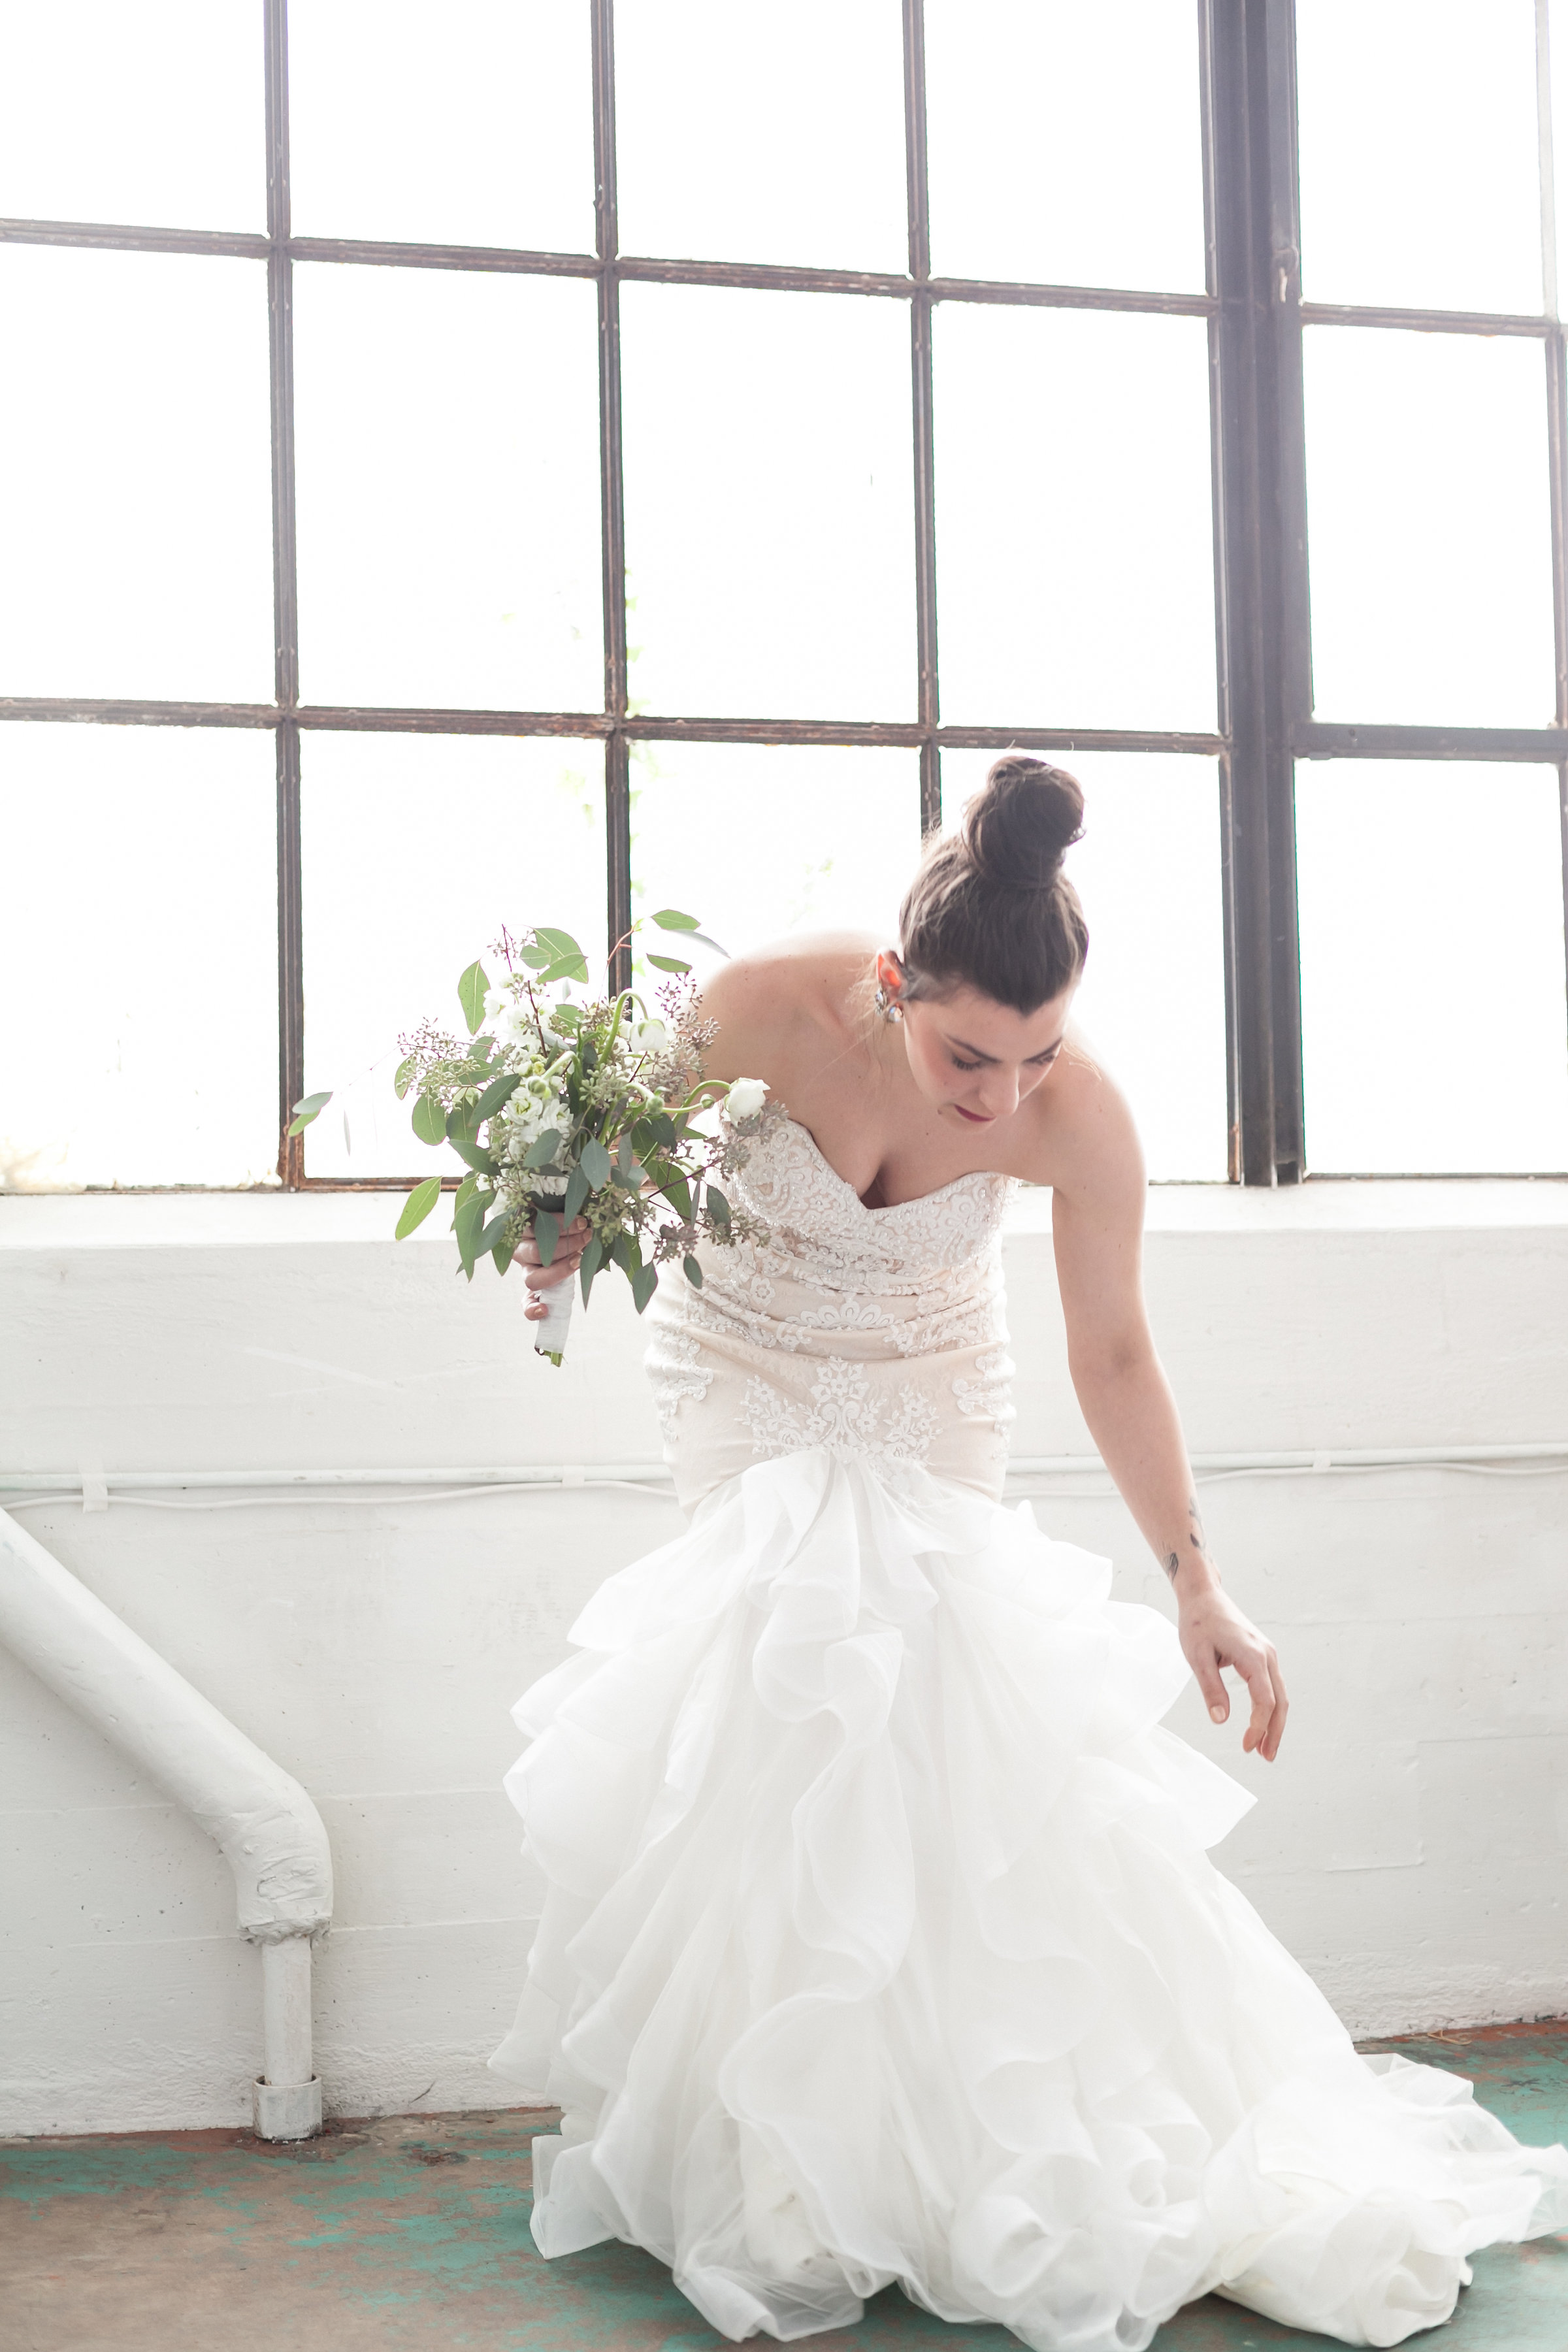
LOOK ONE:


Joan from NINETHIRTYCREATIVE
PRODUCTS USED:
- MOUSSE BOUFFANT (KERASTACE): my favorite light and fluffy effect mousse.
- MAXIMISTA (ORIBE): everyone knows... It's my "GO-TO" or "MUST_HAVE" layering volume product. PERFECT FOR FINE HAIR!
- DRY TEXTURIZING SPRAY (ORIBE): creates airy texture and instant volume. ANOTHER ONE OF MY FAVORITE "MUST-HAVES" IN AN EVERYDAY UPDO KIT.
- THICK (ORIBE): TEXTURE. SHINE. HOLD. A HAIRSPRAY THAT DOES IT ALL.
The "HOW-TO"

- BUILD TEXTURE: Use a golf ball size Mousse Bouffant, apply in hair by scooping product in a comb and coming it in the hair. IF THE HAIR FEELS LIKE IT DOESN'T HAVE ENOUGH TEXTURE, SPRAY MAXIMISTA THROUGHOUT THE HAIR. BLOWDRY. REPEAT UNTIL IT HAS ENOUGH "FLUFF".
- EFFORTLESS CURLS: Use a 1' curling iron (my go-to hot tool line is BABYLISS) alternate curls by outer-barreling or "wrapping" it around the curling iron. NOTE: where bangs are normally located, curl away from the face.
- BACKCOMBING WITHOUT BACKCOMBING: Apply DRY at the roots. Rub the bristle backcombing brush against the scalp in all the areas you need lift. REMEMBER, pay attention to the mirror for SHAPING. IT'S YOUR OTHER SET OF EYES. As you comb and shape, spray in THICK hairspray to give enough hold to keep the airy texture in tact.
- CHALLENAGES OF PINNING BACK: everything depends on proportion from clothing to face shape. NEVER LOOK AT JUST HOW IT SITS ON A PERSONS FACE BUT ALSO LOOK AT THE PROPORTIONS OF THE FULL LOOK.
LOOK TWO:


PRODUCTS USED:
- DRY TEXTURIZING SPRAY (ORIBE): creates airy texture and instant volume. ANOTHER ONE OF MY FAVORITE "MUST-HAVES" IN AN EVERYDAY UPDO KIT.
THICK (ORIBE): TEXTURE. SHINE. HOLD. A HAIRSPRAY THAT DOES IT ALL.
SHINE SPRAY(ORIBE): a soft spritz of shine thats gives just the right ammount of reflection.
CITY SWEPT (BUMBLE AND BUMBLE): helps add texture, shine and separation. ONE OF THE "PLAYFUL/PRODUCT FRIENDLY PRODUCTS.
THE "HOW-TO"
- CREATE YOUR BASE: Figure out where you want the pin-point of your updo to be (middle low bun) and then, create your hair pillow by backcombing your middle section to a nest. This helps the updo to STAY PUT! use DRY for the backcombing and THICK for the continuous hold.
- QUICK 3 BRAIDS: split hair from middle to sides. backcomb, shape and braid loose braids. PIN. Once you secure the end of the braid into the lower bun, piece out the braid and pin into place where you would like.
- FINISHING TOUCH: pull a few baby hair pieces around the hairline to soften the "pulled-back updo". TRY CITY SWEPT!!! Even try putting your full hand of fingers through the middle of the forehead hair area AND SPRAY CITY SWEPT to give a beautiful separation effect. THEN... LITTLE spritz of SHINE SPRAY.

LOOK 3:
PRODUCTS USED:

- DRY TEXTURIZING SPRAY (ORIBE): creates airy texture and instant volume. ANOTHER ONE OF MY FAVORITE "MUST-HAVES" IN AN EVERYDAY UPDO KIT.
THICK (ORIBE): TEXTURE. SHINE. HOLD. A HAIRSPRAY THAT DOES IT ALL.
SHINE SPRAY(ORIBE): a soft spritz of shine thats gives just the right ammount of reflection.
CITY SWEPT (BUMBLE AND BUMBLE): helps add texture, shine and separation. ONE OF THE "PLAYFUL/PRODUCT FRIENDLY PRODUCTS.
AIR STYLE: braid edge control product. JUST ENOUGH SOFT HOLD WITHOUT HAVING TO TAKE AWAY THE TEXTURE.


The "HOW-TO"
- BUN PLACEMENT: you have to figure where your bun is going to be to see how high up you should braid.
- BACK BRAID: 1' inch parting right in the middle of the neck and braid from bottom to the neck to the point of the bun AND tie small elastic.
- DECISIONS OF TIGHT OR VOLUME PONYTAIL BASE: figure out if the model looks good with volume in the front or not. ALL DEPENDING ON PROPORTION. Now shape with THICK AND SECURE WITH PONYTAIL BAND.
- BUN SHAPING: spilt ponytail in 2 sections. backcomb at the root of each section to create fullness and then braid the end. wrap each section in a bun form and secure it with a few bobby pins.
- FINISHING TOUCHES: pull a few baby pieces to give a soft touch.


BEHIND the SCENES